February 2024
Step 1
Inoculation of Sterile Grain Spawn
Reducing the risk of contamination is crucial in successful mushroom cultivation, and you can achieve this by working in a small, clean, and draft-free space, ideally using a Still-Air Box (SAB).
Before starting, cleanliness is paramount; take a shower, put on fresh clothes, and cleanse your hands and forearms with a blue Clinell wipe for 40-60 seconds. Ensure you have a face mask on, but hold off on your gloves until step 4.
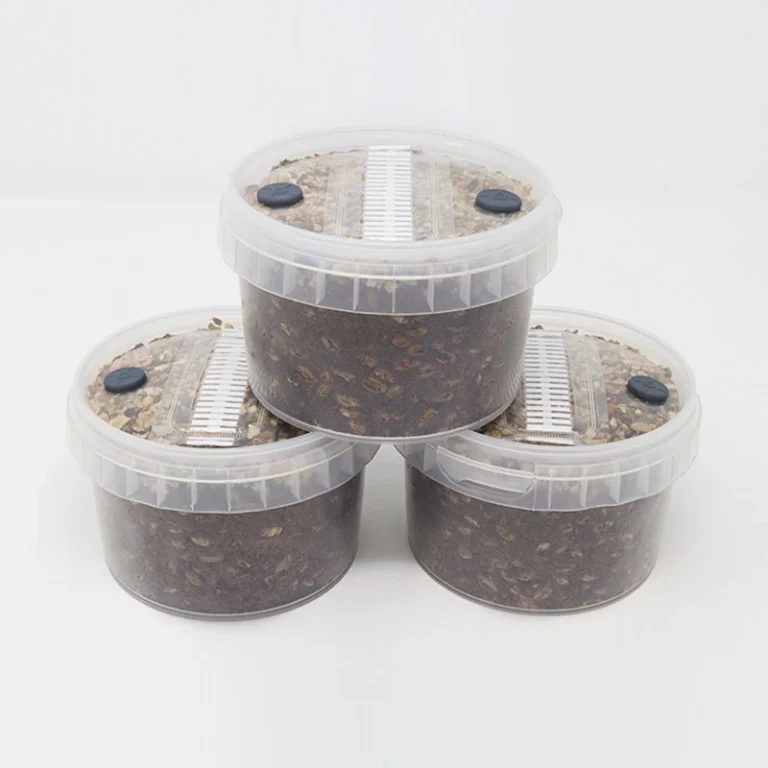
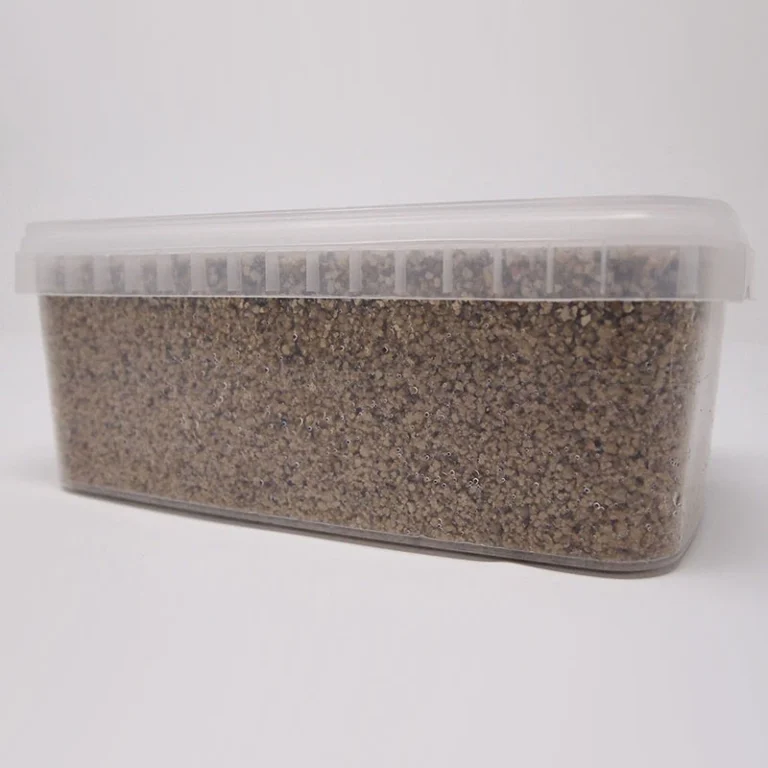
Next, prepare your syringe by attaching a new sterile needle. Now, take out your SpawnTubs from their boxes. Be mindful, once removed from the boxes, they are more exposed to the open air and any potential contaminants - that's why working within a SAB is strongly recommended to minimise this risk.
You'll notice a grey rubber injection port on the lid of each SpawnTub. Use a 70% IPA / 2% Chlorhexidine wipe to sanitise this for 40-60 seconds. Now you're ready to inject the spore or culture solution. Pierce the needle through the cleaned rubber port and inject 1.5-2ml of solution into the port. Just remember, the filters on the lid is not for injection! Now give a nice shake to distribute the solution all around (this will dramatically increase colonisation time).
Step 2
Colonisation of Sterile Grain Spawn
After injecting the spore solution into the SpawnTubs, it's time to set the stage for the colonisation process. Remember, Mycelium is alive and needs to breathe, so storing your SpawnTubs in an airtight container is a no-go. Instead, utilise the cardboard box that they arrived in. It acts as a perfect shelter for your colonising SpawnTubs and helps keep them free from dirt and dust.
Temperature plays a vital role in the colonisation process. High heat (above 26C) or cold conditions (below 18C) can invite problems like contamination or sluggish to non-existent growth. The sweet spot is around 23C (give or take a couple of degrees), room temps at a minimum and consistency is key. Heat mats are not recommended as they can cause undue condensation, potentially leading to a breeding ground for contaminants in your SpawnTubs.
Maintaining the right temperature can be challenging. If you find yourself in this situation, an incubator might be the solution. It's a more cost-effective choice compared to running your home's heating system constantly, and it tends to yield better results.
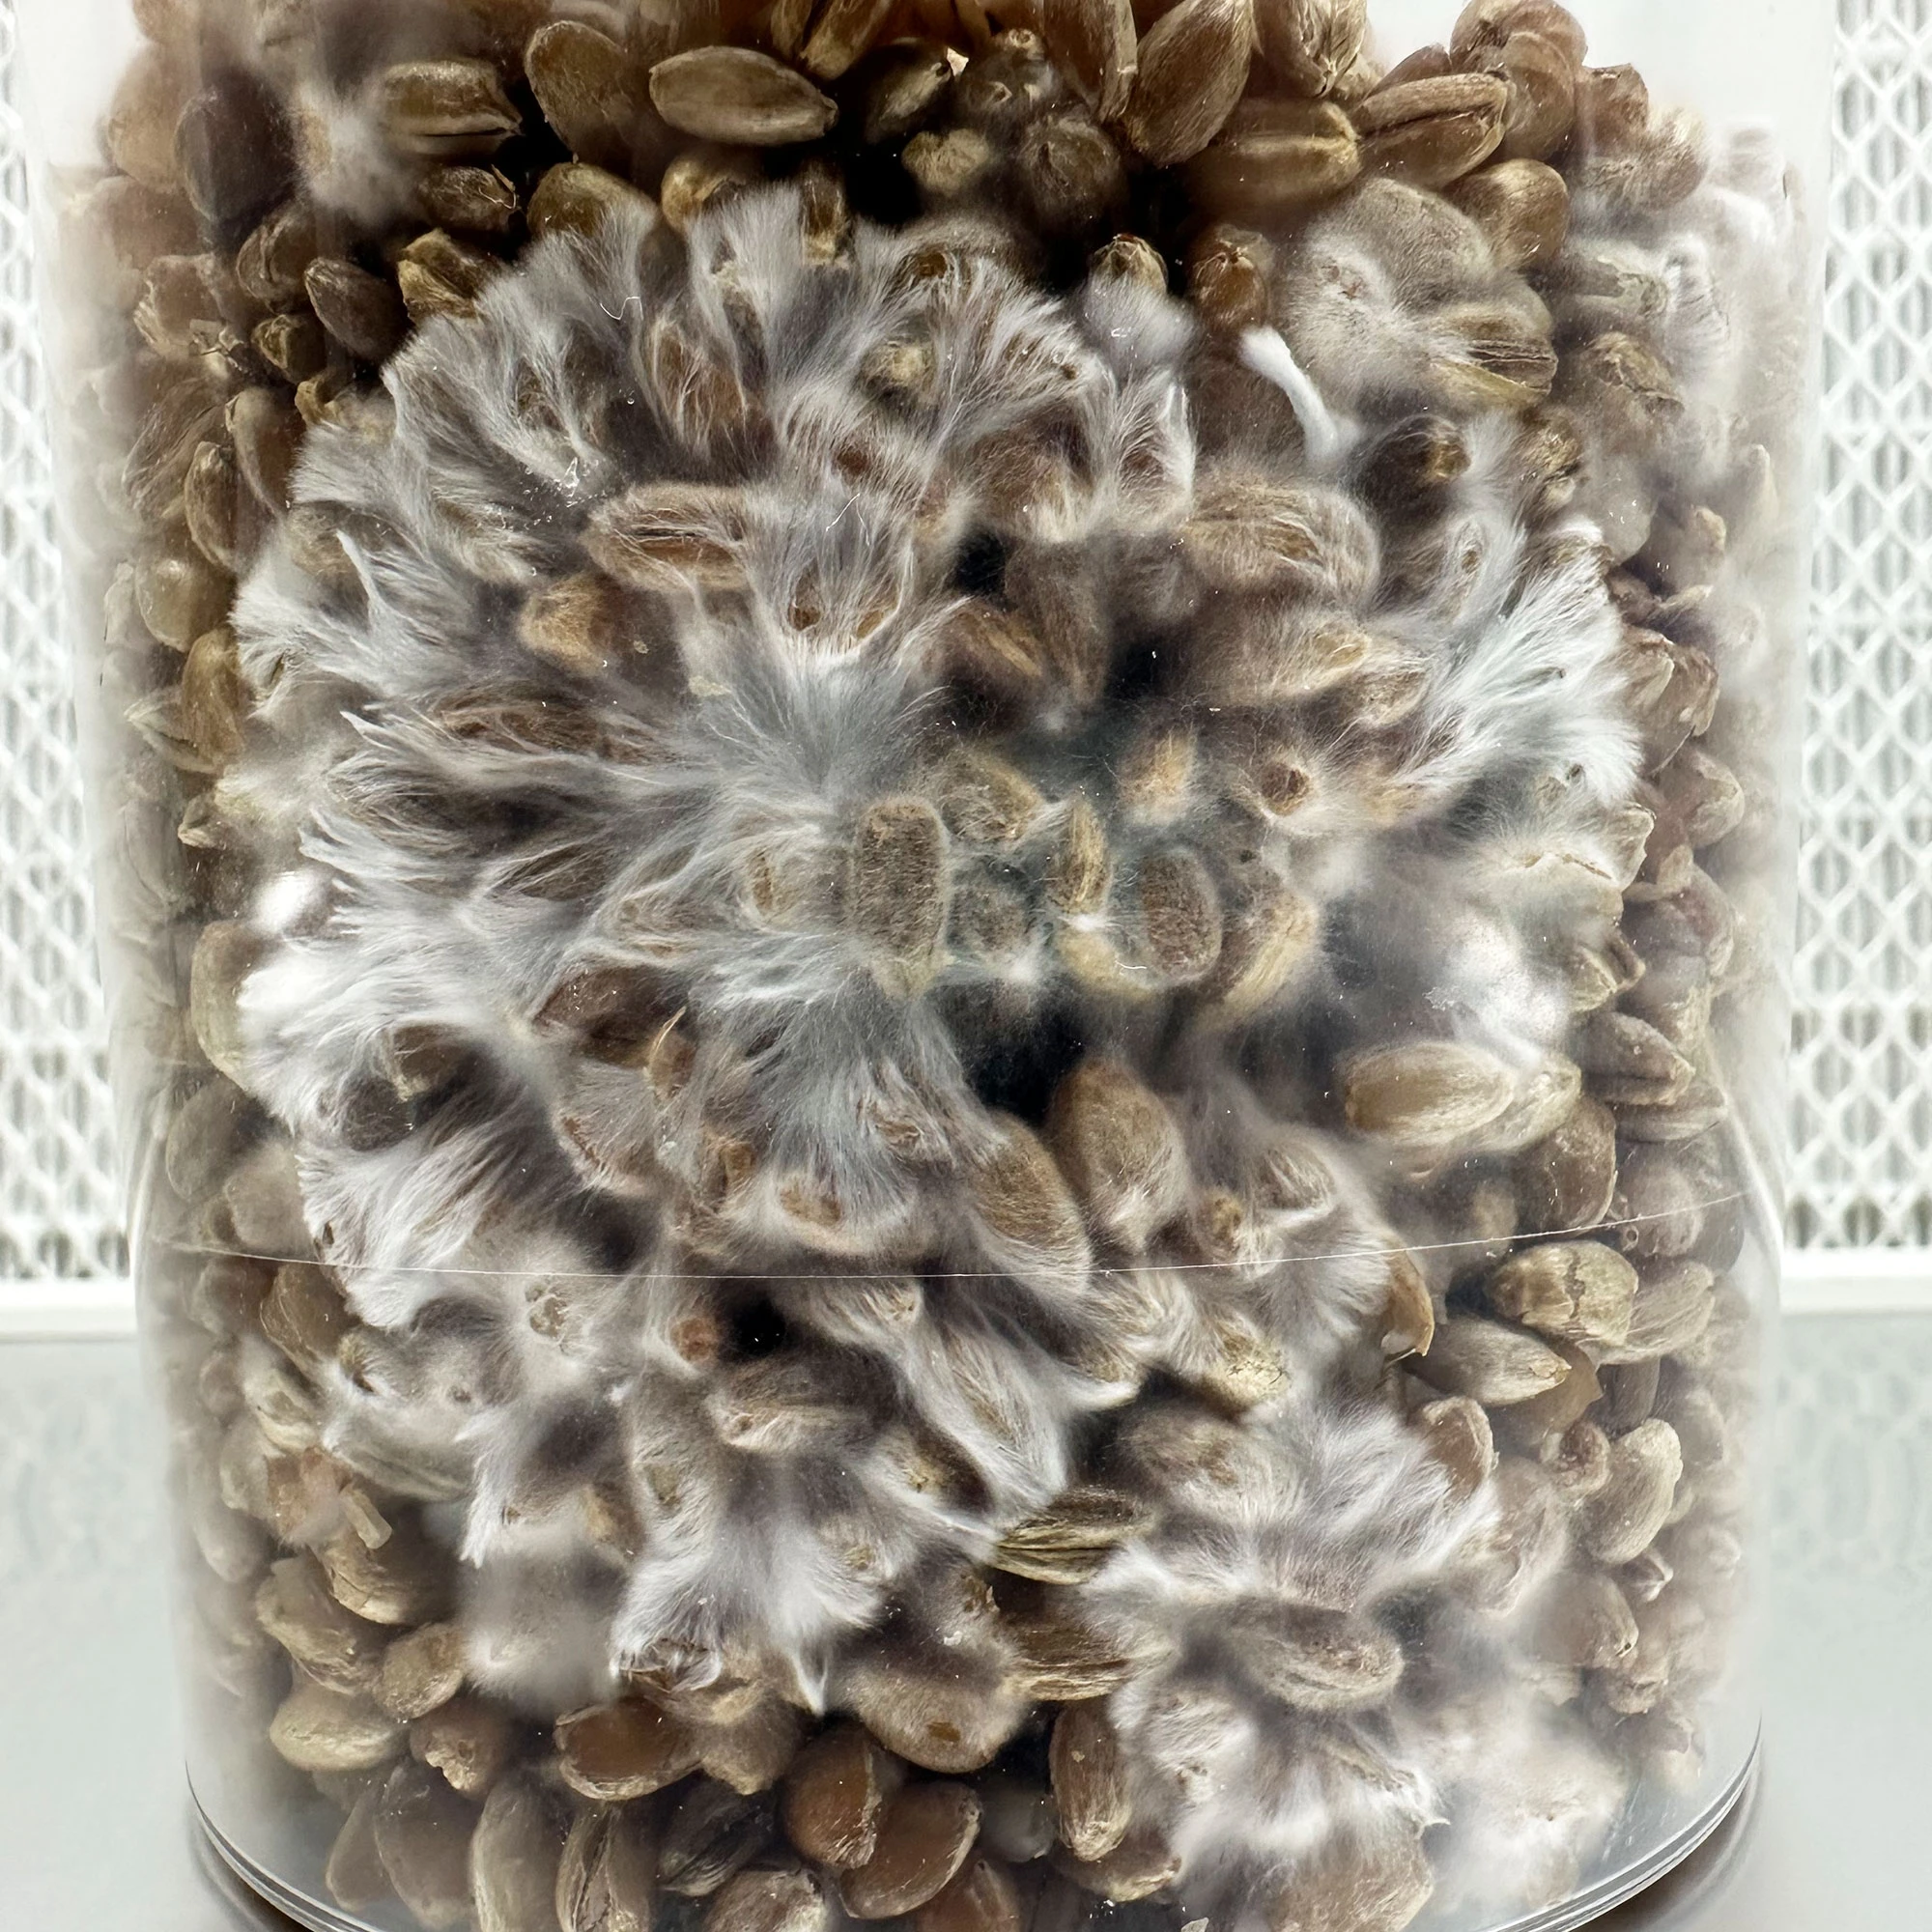
At 26C you can usually expect your SpawnTubs to be fully colonised in about 2-3 weeks. Still, nature likes to keep us on our toes, and this timeline can fluctuate based on a multitude of factors. Patience will be your ally here. Even once it looks fully colonised, if you have the patience, give it an extra 3-7 days - this will almost guarantee full colonisation in the places you can't see.
 Open the photo full size
Step 3
Preparation of Mycowavable™ Coir Substrate
If you opted for the enhanced version of the kit, you can skip this step.
When the grain inside your SpawnTubs are fully covered with healthy, white mycelium, you're ready for the next step. It's important not to open your SpawnTubs before this point, as uncolonised grains can get contaminated when exposed to open air.
The next step involves hydrating and sanitising your coir substrate. First, open the polypropylene bag containing the coir substrate and pour 900ml of tap water into the coir. Then, close the seal, leaving a little gap for steam to escape. Place this bag inside a microwavable container (to prevent any mess) then microwave for 13 minutes on high. Make sure your microwave is clean before you start. Don't worry about losing a lot of water from the steaming process, we've accounted for that.
After microwaving, remove and let cool to room temperature.
If you don't have a microwave, no problem! You can use steam sterilisation with a pot of water. Here's how:
Get a large pot ready: Fill with lots of water and and get it to a heavy boil.
Boil a kettle: Pour 900ml of boiling kettle water into your coir bag. Seal the bag and drop it into the large pot of boiling water. Put a lid on and turn off the heat.
Leave it to cool: When the pot is cool enough to touch, you are ready to remove the bag of coir which should be sufficiently sanitised for our needs.
Sometimes the coir may become overly hydrated. It should be at 'field consistency' which is when you squeeze a handful of it, you get a little water stream released which comes to an abrupt stop. It's difficult to describe, but instinctively you should know if it's soaking or not - if it is, squeeze out excess water because mycelium hates being drowned but unwanted microbes love it!
Step 4
Spawning to Substrate
Before proceeding, clean your hands and forearms, and put on your gloves. Take all of the prepared coir and pour it into XXL MonoBag™ (if you are unsure which bag this is, it's a long, narrow bag with lots of air filters all the way along it).
With your SpawnBox, take the mycelium covered grain brick out and place it into the XXL MonoBag™ with the prepared coir substrate inside. Twist the end of the bag and squeeze through the bag to break apart the brick of grain until it separates into individual grains, really mix it all up into the substrate as evenly as you can. as it will speed up the colonisation process, and the faster that goes, the less likely contamination is.
Now the super easy bit...
As the length of the XXL MonoBag is very long, there will be plenty of length to twist the bag where the coir/spawn stops so you can tie a knot right there and keep a nice tight block of substrate and spawn for nice colonisation.
It should look like a substantial beef wellington (or for the Scots, a haggis!). (lol)
An ideal colonisation temperature for many popular species of mushroom mycelium is around 23C (give or take a couple of degrees), but you can always try to mimic the colonisation temperatures from their natural habitat. Getting the temperature as ideal as possible at this point is crucial for success. You need the colonisation of the substrate to be quick, or there's a higher risk of unwanted microbes taking hold.
In the right conditions, it should take around 10 days to see full colonisation of the substrate. If it's taking much longer than this, the risk of contamination starts increasing fast. Even once it looks fully colonised, if you have the patience, give it an extra 3-7 days - this will almost guarantee full colonisation in the places you can't see.
Only when you're confident that the substrate is fully colonised with strong, healthy mushroom mycelium are you ready to begin fruiting.
Step 5
The best bit... Fruiting your mushrooms!
Maintaining a slightly cooler (but still warm) temperature of around 21C (give or take a couple of degrees) during the fruiting stage is essential for excellent results with many popular species of mushrooms.
There's actually a few ways you can fruit this.
Option 1.
Take your beef wellington (or mushroom wellington for the veggies) and place it inside your XXL grow tent. Keep it wrapped in the MonoBag and slice a big X along the top, side to side where you want your mushrooms to fruit from. Commercial mushroom farms tend to use this method.
Option 2.
Remove the wellington from it's XXL MonoBag and sit horizontally inside the tent.
Option 3.
Remove the wellington from it's XXL MonoBag and sit it vertically so that mushrooms can grow 360 degrees for the ultimate fruiting area.
Option 4.
There are lots more variations on these ideas, such as keeping it in the XXL MonoBag whilst sitting vertically and cutting X's all over it.
Humidity and FAE (fresh air exchange) are extremely important for pinning and healthy mushroom development, as is temperature and light. They all need to work in harmony. Humidity will naturally build up inside the grow tent from water you previously added to the substrate mix, which is still stored in the cake. Unlike some other grow kits, you should not mist this kit (unless it looks dry).
The only time you'll open your tent is when you're ready to harvest your mushrooms. Even peeking for a few seconds is enough to lose humidity and cause growth defects such as aborted pins and caps breaking. We suggest cutting a 1cm slit through both sides of the tent near the top and placing an electric fan somewhere in the room on a low setting. This will create a gentle air current inside the room, which will help increase the FAE inside the grow tent.
Your mushrooms will need light to grow. We recommend indirect sunlight or a 6-7000K LED or fluorescent light a few feet away - if the light is heating the substrate, move it further away. If you notice the inside of your grow tent looking dry, it may be due to the fan being too close, the holes you cut being too big, or grow lights (if using them) being too close and hot. Observe what's happening and adjust your setup as required. Fantastic results depend on it.
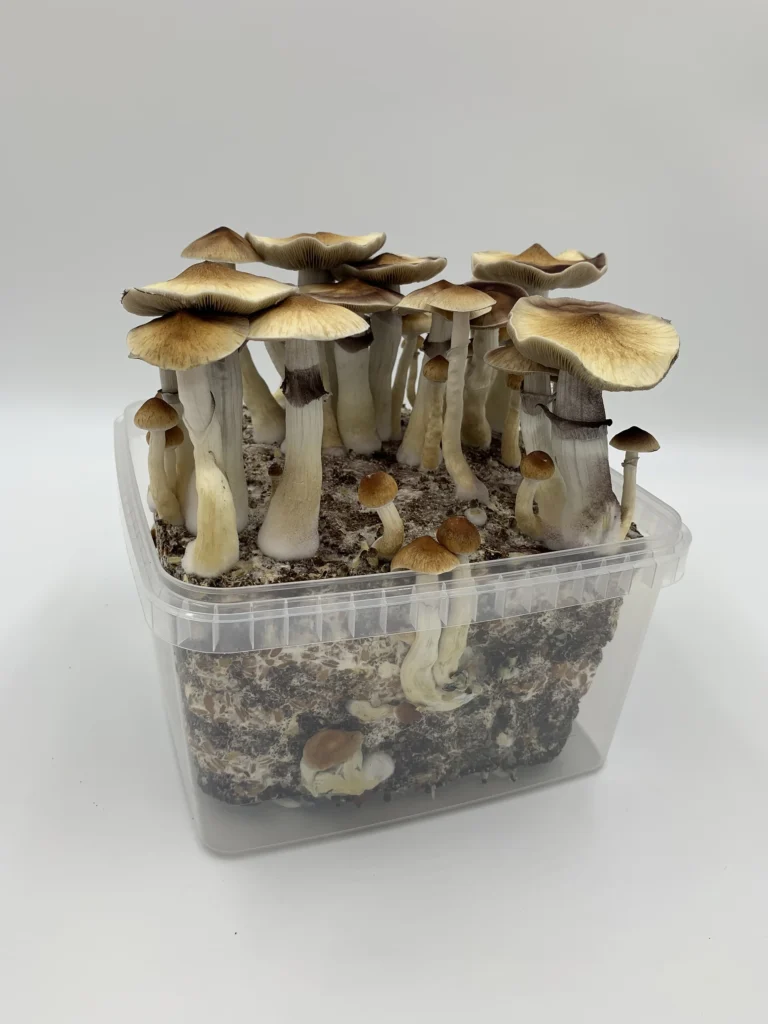
After around 3-7 days, you'll hopefully begin to see lots of tiny white dots. These are hyphal knots that will develop into primordia, aka mushroom pins. It will take 4-5 days for them to grow into fully mature mushrooms ready for harvest. During this time, they'll let you know if something isn't quite right. Fuzzy mycelium at the base of the mushrooms and/or thin stems are an indication that more FAE is needed. Increasing the fan speed or length of the cuts on the bag might be something to try.
Don't worry about any mushrooms growing around the sides and bottom of the cake. You'll still be able to harvest them. If you want to give your mushrooms more room to grow next time, use a fruiting chamber instead of a grow tent.
When the veil beneath one of your mushroom caps is about to tear off, this is when you should harvest your first flush. If you don't get there quickly enough, spores will begin to drop from your mushroom caps and make a mess! It's best to cut the mushrooms off with a clean scalpel or knife. You can also just pull them off, but be careful not to damage the substrate too much.
After you've harvested all the mushrooms from your first flush, you can use a method called "dunking" to get more moisture into your substrate. Simply place your cake aka wellington into a pot of fresh water. It will float to the top, so put a couple of plates on top to weigh it down. You need it to be fully submerged in water at all times.
Put a lid on the pot to stop dust and flies getting in. Leave your cake submerged for anything between 6-24 hours, depending on how much patience you have. But obviously, the longer you leave it, the better your results will be. When you remove the cake from the water, give it a little rinse under the tap - it's been sitting in its own dirty bath water for up to 24 hours - and allow excess water to drain away before placing back into your grow tent.
You should continue to dunk your substrate after each flush. If you've taken good care of it, you should achieve multiple flushes of mushrooms from your grow kit before the nutrients are all used up.
Step 6
Happy shroomin' ♡
Thanks so much for ordering our grow kit. We hope you love using it and reap the rewards!
If there's anything you're still unsure about, get in touch through Messages in your account or the chat button at the bottom of any page. We're a friendly bunch!