SpawnJar™
Price range: £14.50 through £120.00
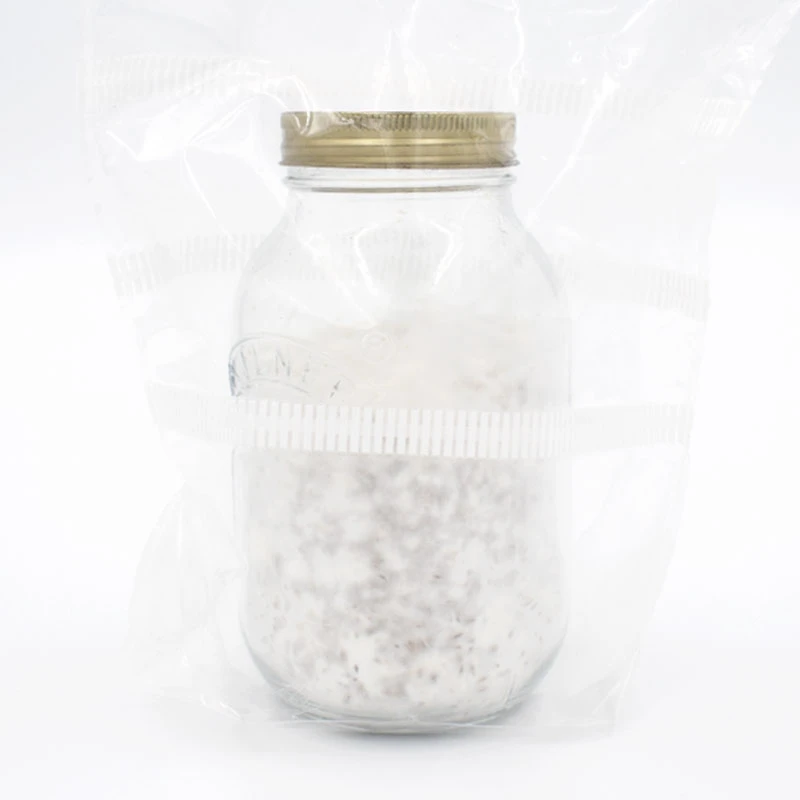
Our sterile SpawnJars are the perfect blank canvas for starting any cultivation project.
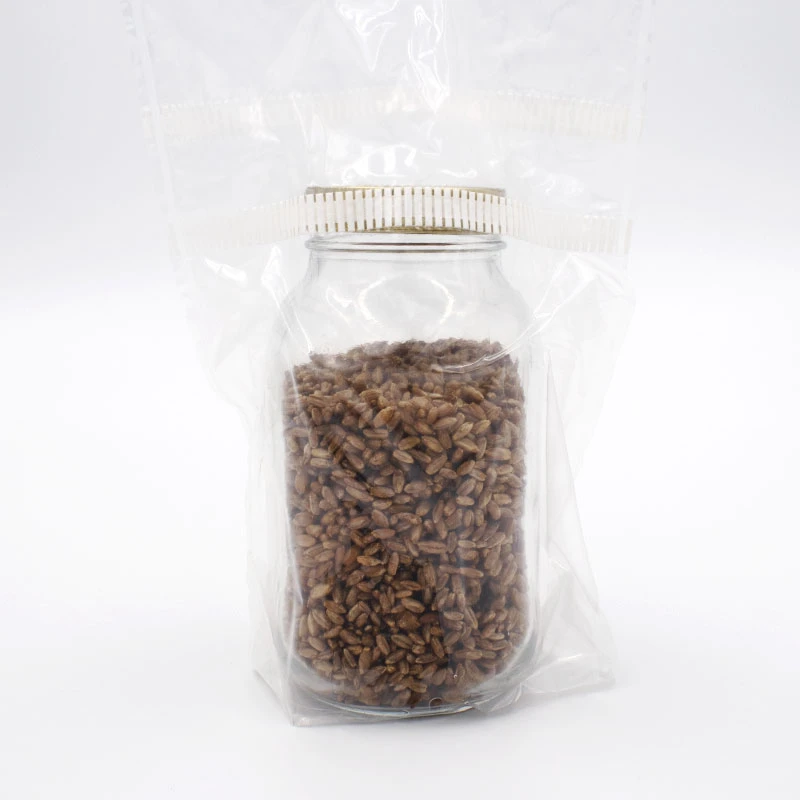
Fitted with SFDs for clean air exchange. Choose your spawn type. Multigrain can offer quicker colonisation times compared with pure Rye Grain.
Pack of 1, 3 or 12.
Please note: No EZ-Replacement guarantee with these. These are for the experienced who have a SAB and know how to work clean.
Some options are out of stock
Want to know the moment it returns?
We will email you a link to confirm first.
Our sterile SpawnJars are ideal for G2G work.
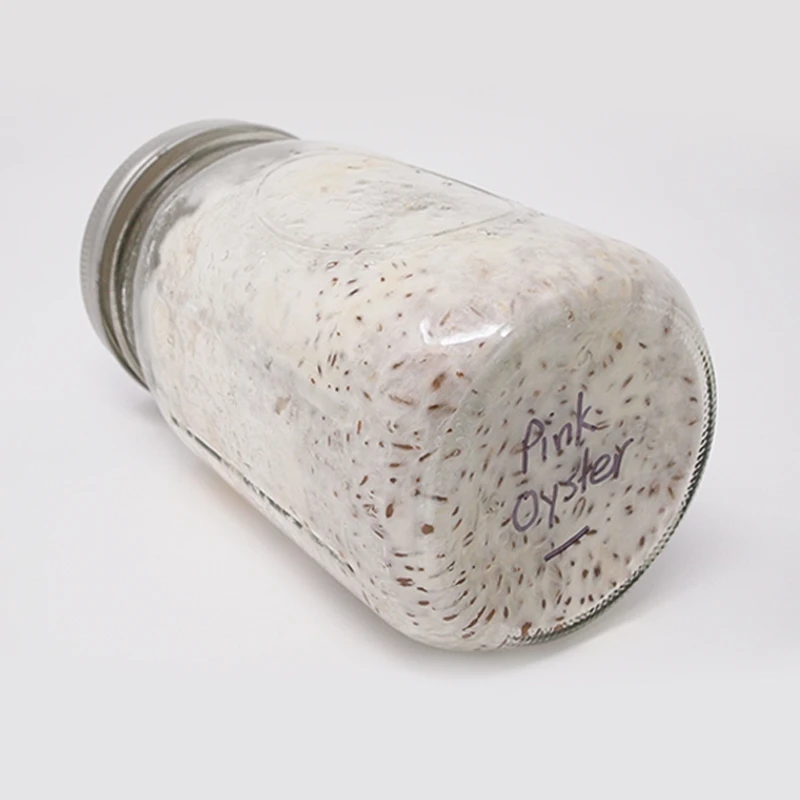
Being a sturdy glass Mason jar, it can easily cope with the rough handling needed for breaking apart colonised grain.
Once you've separated the mycelium-covered grain, give the jar a good clean before (and after) taking to your SAB or flowhood and before using.
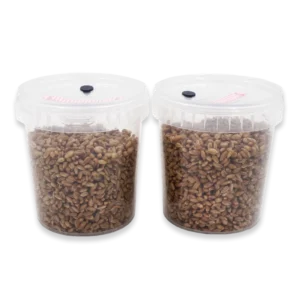
That's it, it's now just a matter of opening some Spawn Tubs, shaking in a little colonised grain, closing the lids and leaving to incubate.
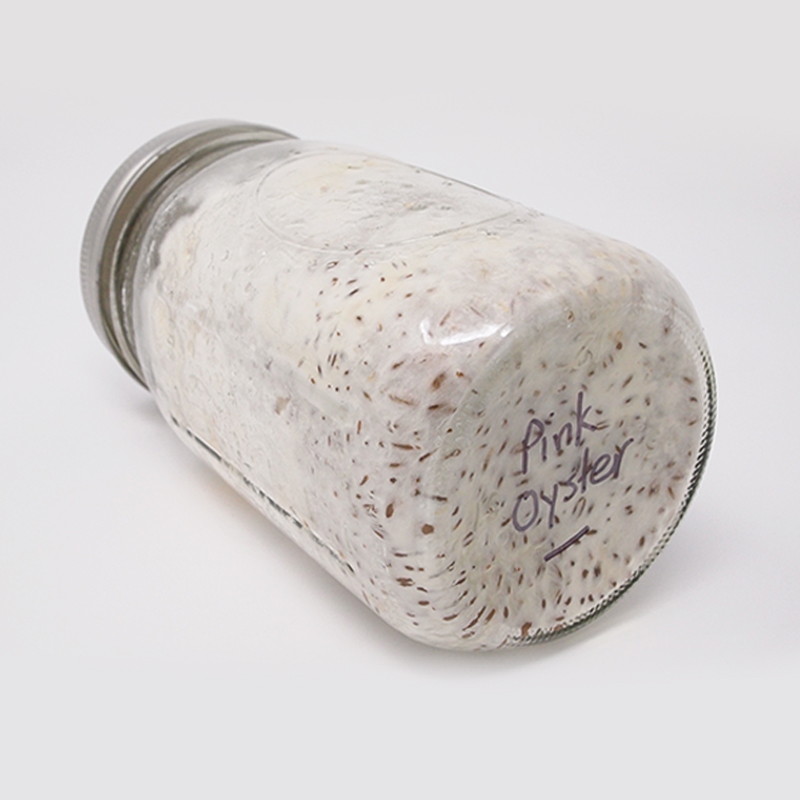
Watch as those SpawnJars explode with BLAZING fast mycelium growth to full completion in a matter of days (not weeks).
When planning rapid spawn expansion, always start with our sterile SpawnJars.
Packs of 1 and 3.
Features
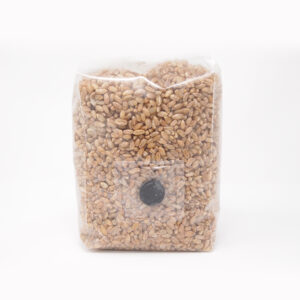
- Spawn Jar is placed inside a PP bag and heat-sealed shut within our lab (the entire jar is clean)
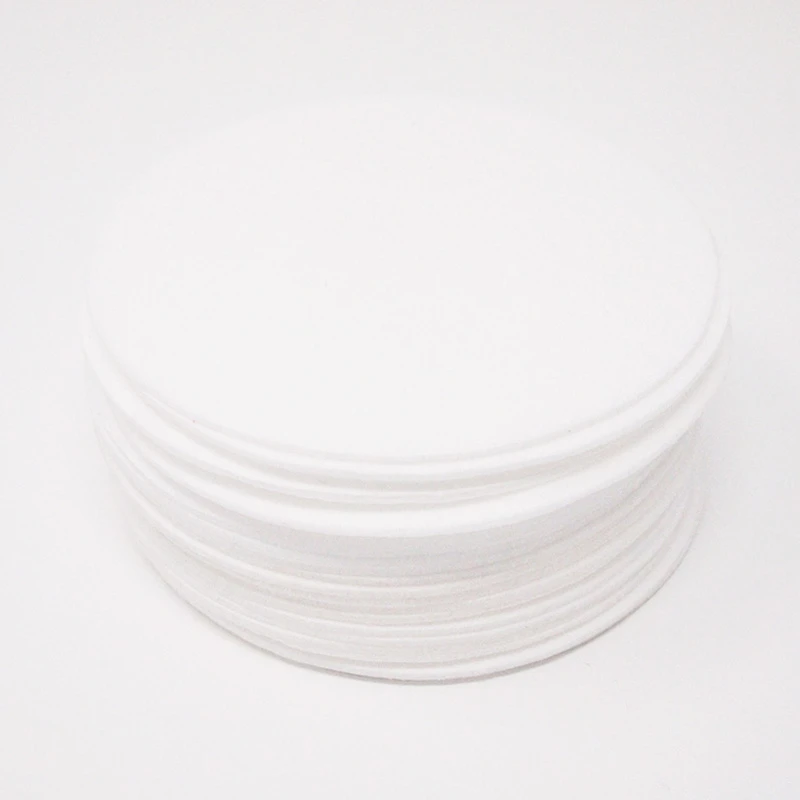
- SFDs in each lid (synthetic filter disc - HEPA rated) for clean airflow. PC-safe and reusable for years.
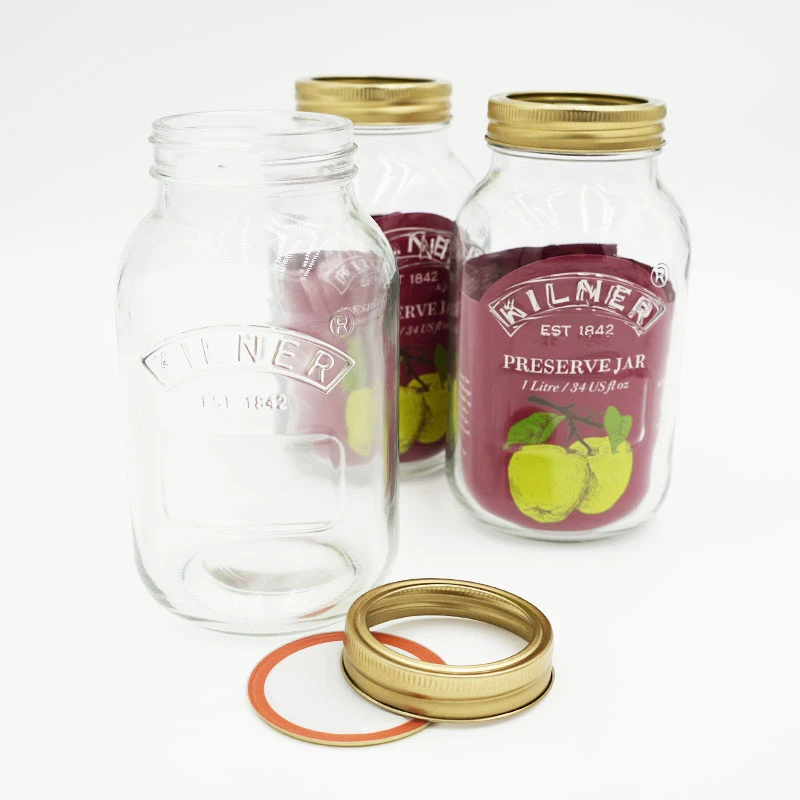
- 1L Kilner Jar (strong and sturdy soda glass) with Metal 2-Piece Lid
- Excellent insulation properties
- Reusable
Included with all sterile SpawnJars
- Chlorhexidine Alcohol Wipe
- Antimicrobial Hand Wipe
You will need
You will just need to source your own clean, trusted, 1.5-2ml gourmet spore syringe.
SAB (Still-Air Box) as we do not fit injection ports in these jars.
Are sterile SpawnJars for me?
If you have nice healthy, clean spawn, and you want more of it... It doesn't make sense restarting the full process with a gourmet spore syringe.
There's a much smarter, faster, cheaper and cleaner way to do it.
G2G transfers are quick, we're talking full colonisation in just a few days... Not weeks - it totally kicks spore syringe butt.
Save yourself the cost of needing extra gourmet spore syringes and expand the mycelium you have with G2G and our Spawn Tubs.
But, if you're just starting out with your very first grow kit, or maybe you haven't built a SAB yet then don't worry about G2G yet or this jar, we have spawn tubs with injection ports.
How do I use these sterile SpawnJars?
There's a couple of ways you can use our SpawnJars...
Inoculating with a Gourmet Spore Syringe
The easiest way.
- You will receive your sterile SpawnJars in sealed bags, which you will need to cut open.
- Open the lid slightly, with clean hands and within a SAB.
- Inject 1.5-2ml down the side of the glass jar so that mycelium can be seen easily through the glass when it starts to grow.
- Now place a piece of freshly cut, clean tin-foil loosely over the entire jar lid IF you are planning to use this jar for inoculating other jars in future with G2G.
- IF you aren't planning to use the jar for future G2G, just skip the tin foil part (it's purely to keep the jar exterior clean).
- Take the Spawn Jar to a warm area or incubator to begin colonisation. We recommend 23C give or take a couple of degrees faster growth speed.
Remember - that white SFD in the lid is for air exchange... Underneath it is a small hole in the metal lid to let some air exchange happen during mycelium growth.
Inoculating other Spawn Tubs or Jars with Grain-to-Grain (G2G)
The good news is that mycelium should grow at such a rate that it can totally outrun many microbes, but still - don't take shortcuts for success.
The ratio we tend to use is a 1:10. This means for every Spawn Jar, we'll distribute the mycelium covered grain between 10 Spawn Tubs.
But that's just a general rule of thumb. We range anywhere from 1:3 to 1:15 depending on how much spawn we want or need.
- Make sure to inspect visually for signs of contamination.
- You will first need to prepare your glass Spawn Jar by making sure to break apart all of the colonised grains. We use a roll of duct tape and repeatedly hit the jar off of (even the legendary cultivators use methods like this or even bike tires - as that mycelium is pretty strong). Do not do try this with a jar you've pressure cooked repeatedly as sode glass gets weaker and weaker over many cycles.
- Once you have done this, it's now about getting the jar into the SAB and ensuring the jar is squeaky clean so you don't wind up shaking microbes into Spawn Tubs!
- Once you are satisfied the Spawn Jar is as clean as humanly possible, you will want to do a quick smell test, be careful not to let dust fall into it whilst only slightly cracking the lid to smell for anything weird.
- Now you want to remove the sterile Spawn Tubs from their sealed bags (you can depend on our Spawn Tubs being super clean, no need to wipe them down).
- Remember, the entire Spawn Tub surface is ultra clean until you remove it from the bag... So the cleanliness and success of the G2G transfer is completely in your hands.
- Once you have removed the Spawn Tubs from their bags, with clean gloved hands, you will want to remove the lids from the Spawn Tubs and rest them back down lightly so the grain isn't left exposed.
- Then when you are ready, remove the glass Spawn Jar lid and put to the side...
- With one hand dedicated to lifting the plastic lid from the Spawn Tub, pour in some colonised grains and drop the plastic lid back down. Move to each Spawn Tub and do the same.
- Only when you are finished with all of the Spawn Tubs should you now go back round to properly click the lids down.
- Avoid fumbling whilst performing G2G inoculations. It's about speed, cleanliness and efficiency. If you do this right, you are talking success rates in the 95% region with a SAB or nearly 100% with a flowhood.