EZPZ GROW KIT
INSTRUCTIONS
We also recommend reading our troubleshooting guide before attempting any grow as it's full of useful information which will help you solve and avoid problems.
Home / Mushroom Cultivation / Mushroom Grow Kits / EZPZ Grow Kit
1 / 5


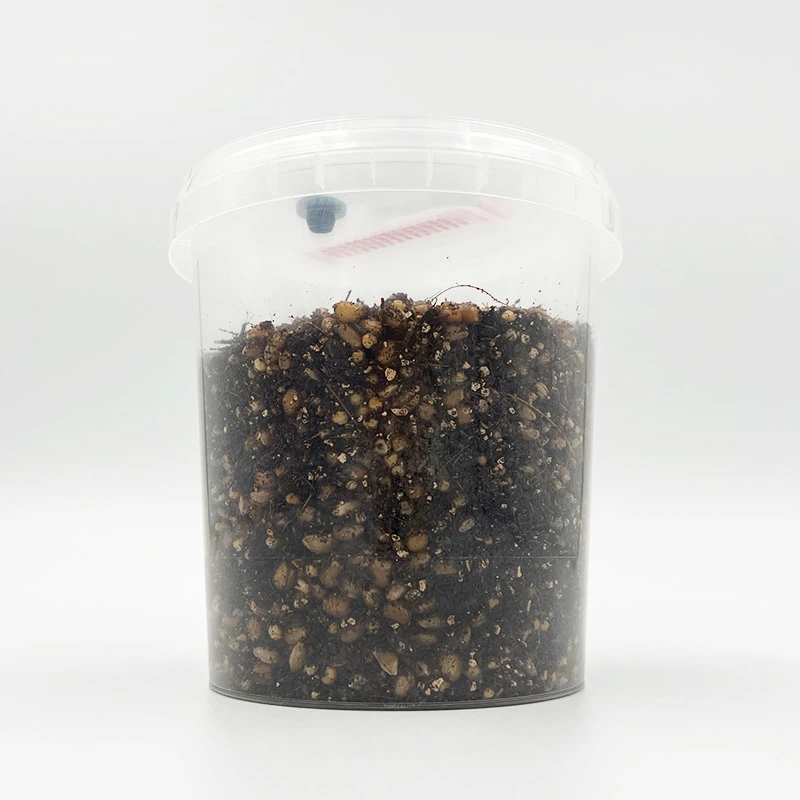
The EZPZ Grow Kit is blazing fast, easy for beginners and super compact. Growing mushrooms with a syringe has never been easier than this all-in-one belter. Others do all-in-one kits, but they aint the EZPZ Grow Kit.
0-3 working day dispatch or free grow kit if we are late (UK-only pledge). Order and pay before 1pm Monday to Friday.
The EZPZ Grow Kit is easy peasy mushroom squeezy!
It's also our fastest, most compact, all-in-one mushroom growing solution yet.
The perfect choice for those who want a gentle first-time experience of growing mushrooms from a syringe.
You will just need to source your own clean, trusted, 3ml gourmet spore syringe.
Okay, please don't take this the wrong wayβ¦
We designed this grow kit for the complete dummy.
And NOT because we think you're a dummy!
It's just that we learn best when things are super simple.
We treat others how we like to be treated.
And we love making mushroom growing easy!
You will need to source a 3ml gourmet spore syringe for this kit.
No two beginners are the same, because no two people are the same!
Whilst all grow kits at Cylocybe are awesome for beginners, they're awesome for different reasons.
Our MonoBox Grow Kit is designed as a flexible training kit to fast-track you straight out of beginner stage and have you growing like a boss. The MiNO Grow Kit uses all the same real cultivation techniques, just on a smaller scale.
β¦but that doesn't mean the MonoBox or MiNO Grow Kit is the choice for you (just yet, at least).
Ask yourselfβ¦
The EZPZ Grow Kit is an easier, more compact, mushroom growing system which doesn't break the bank, yet still provides plenty of mushrooms for you and a friend. In fact, at this price you could probably buy a few for your friends too.
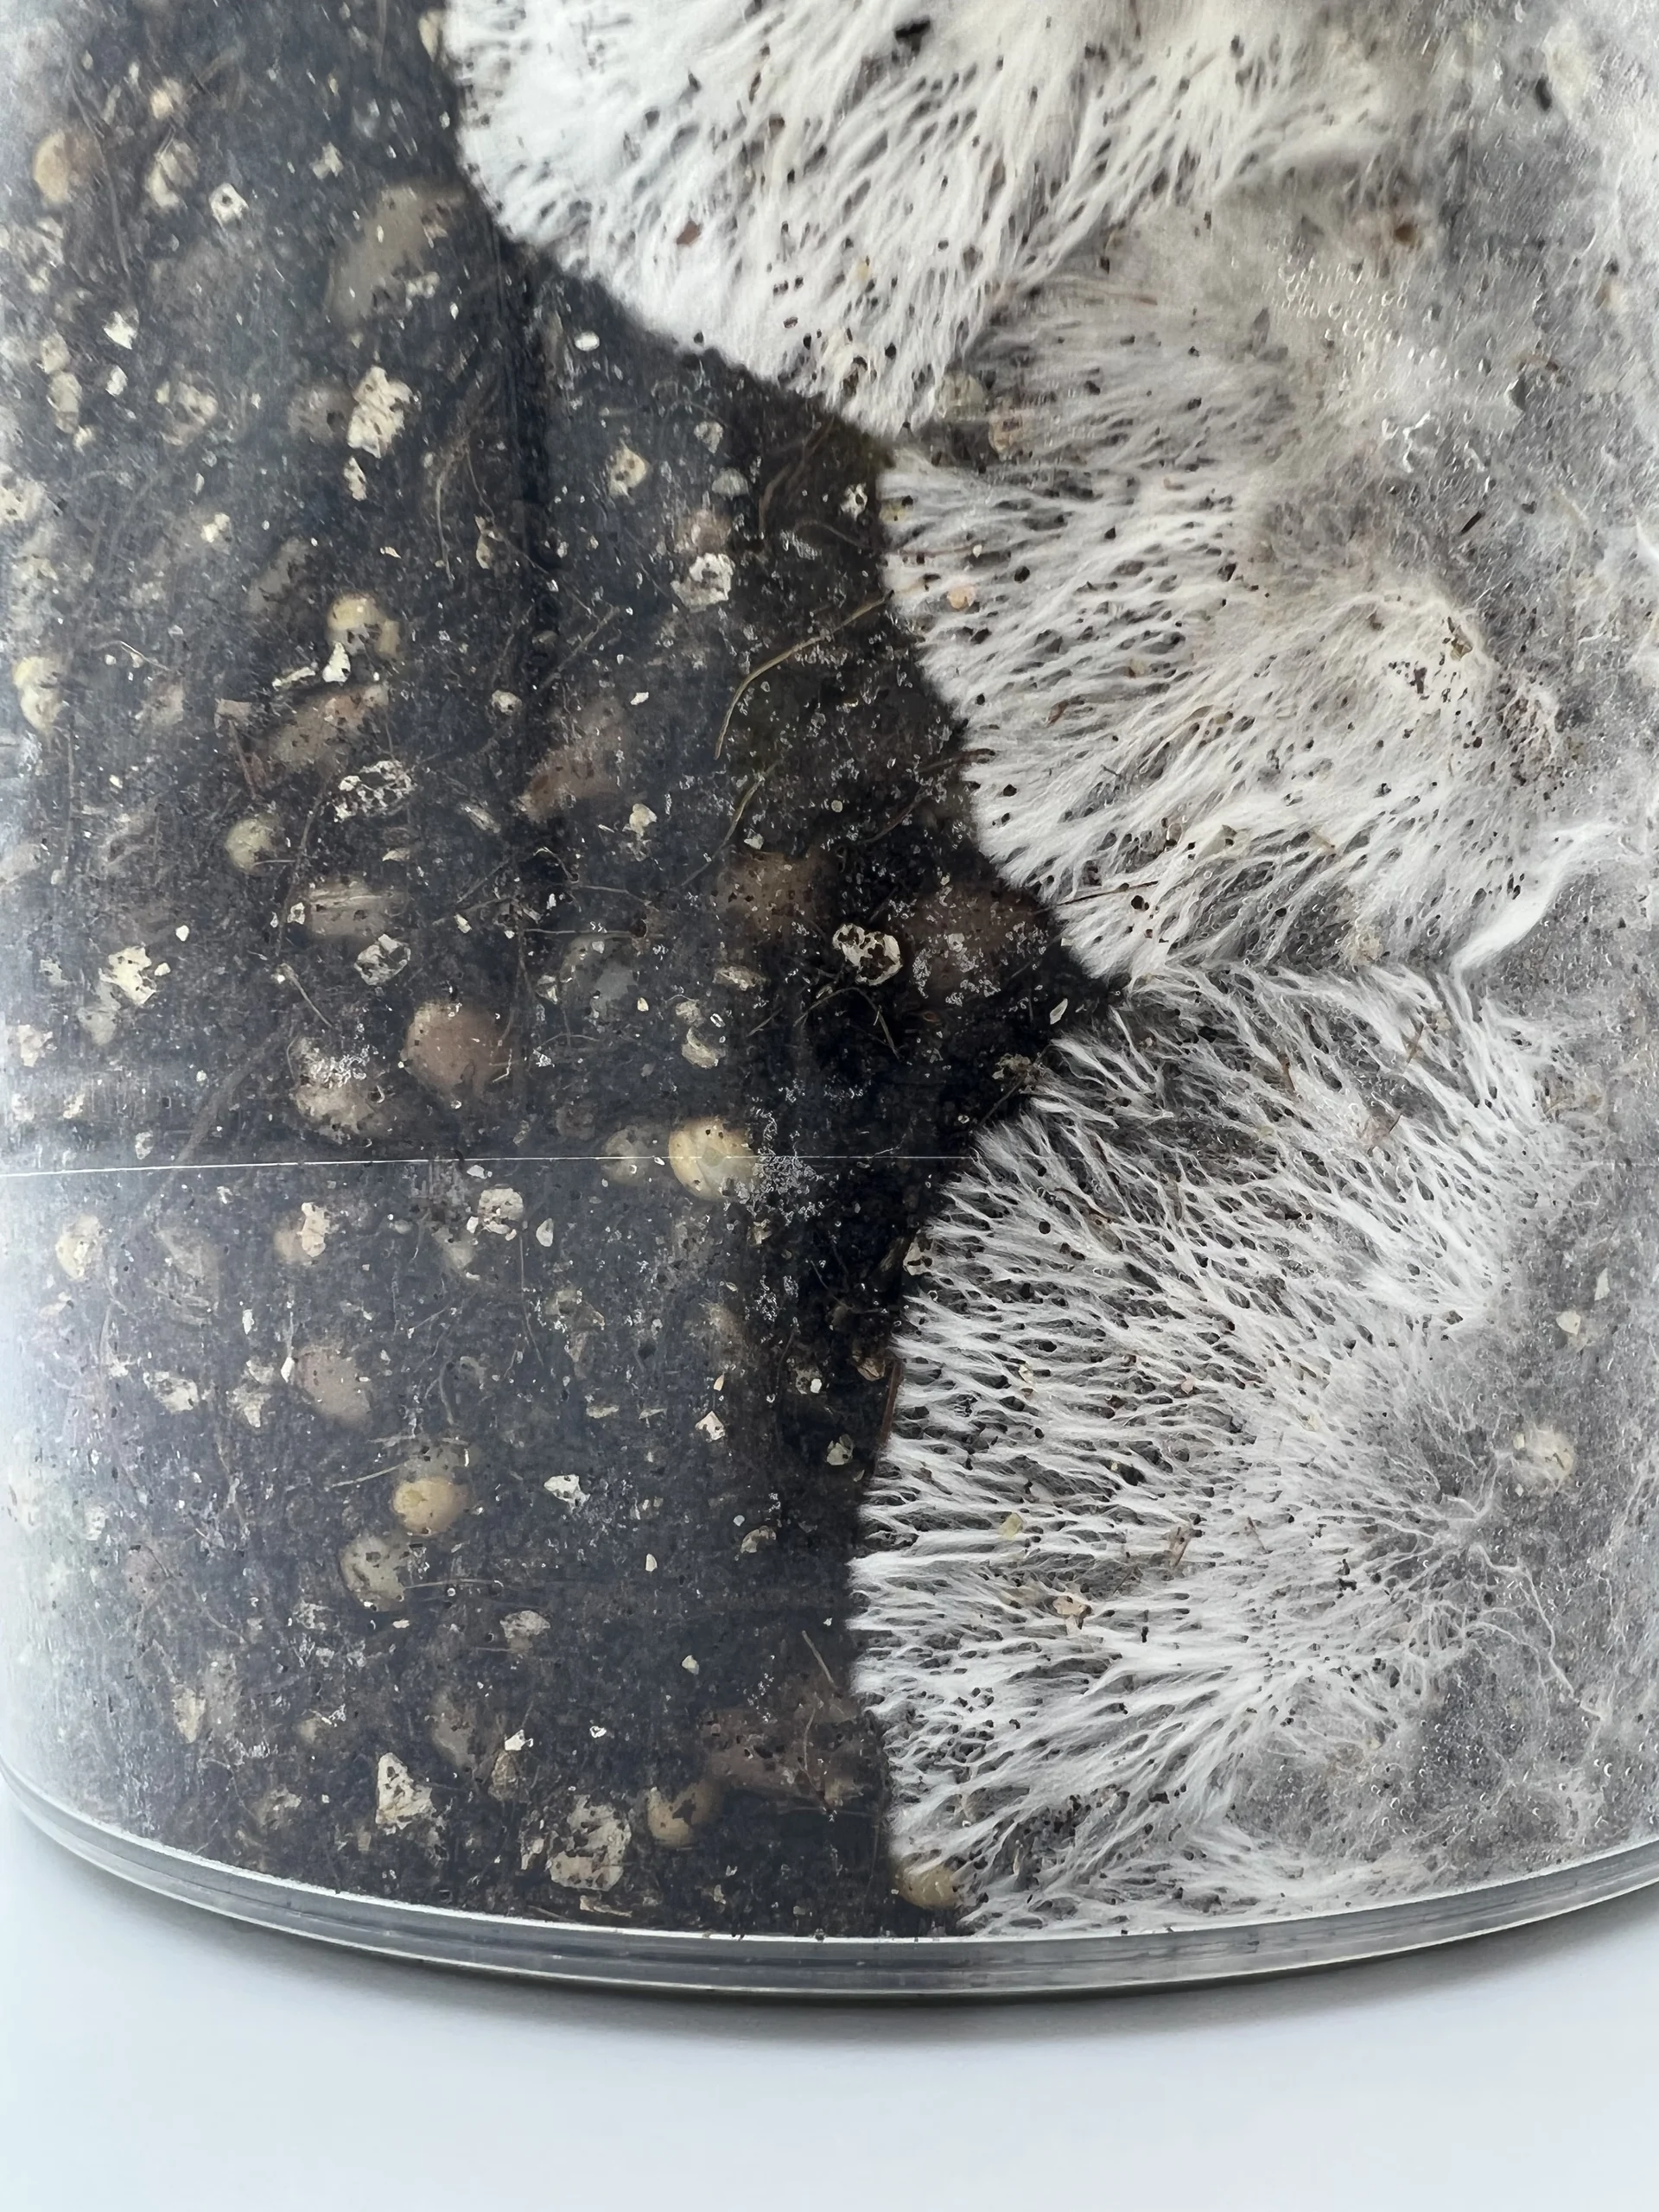
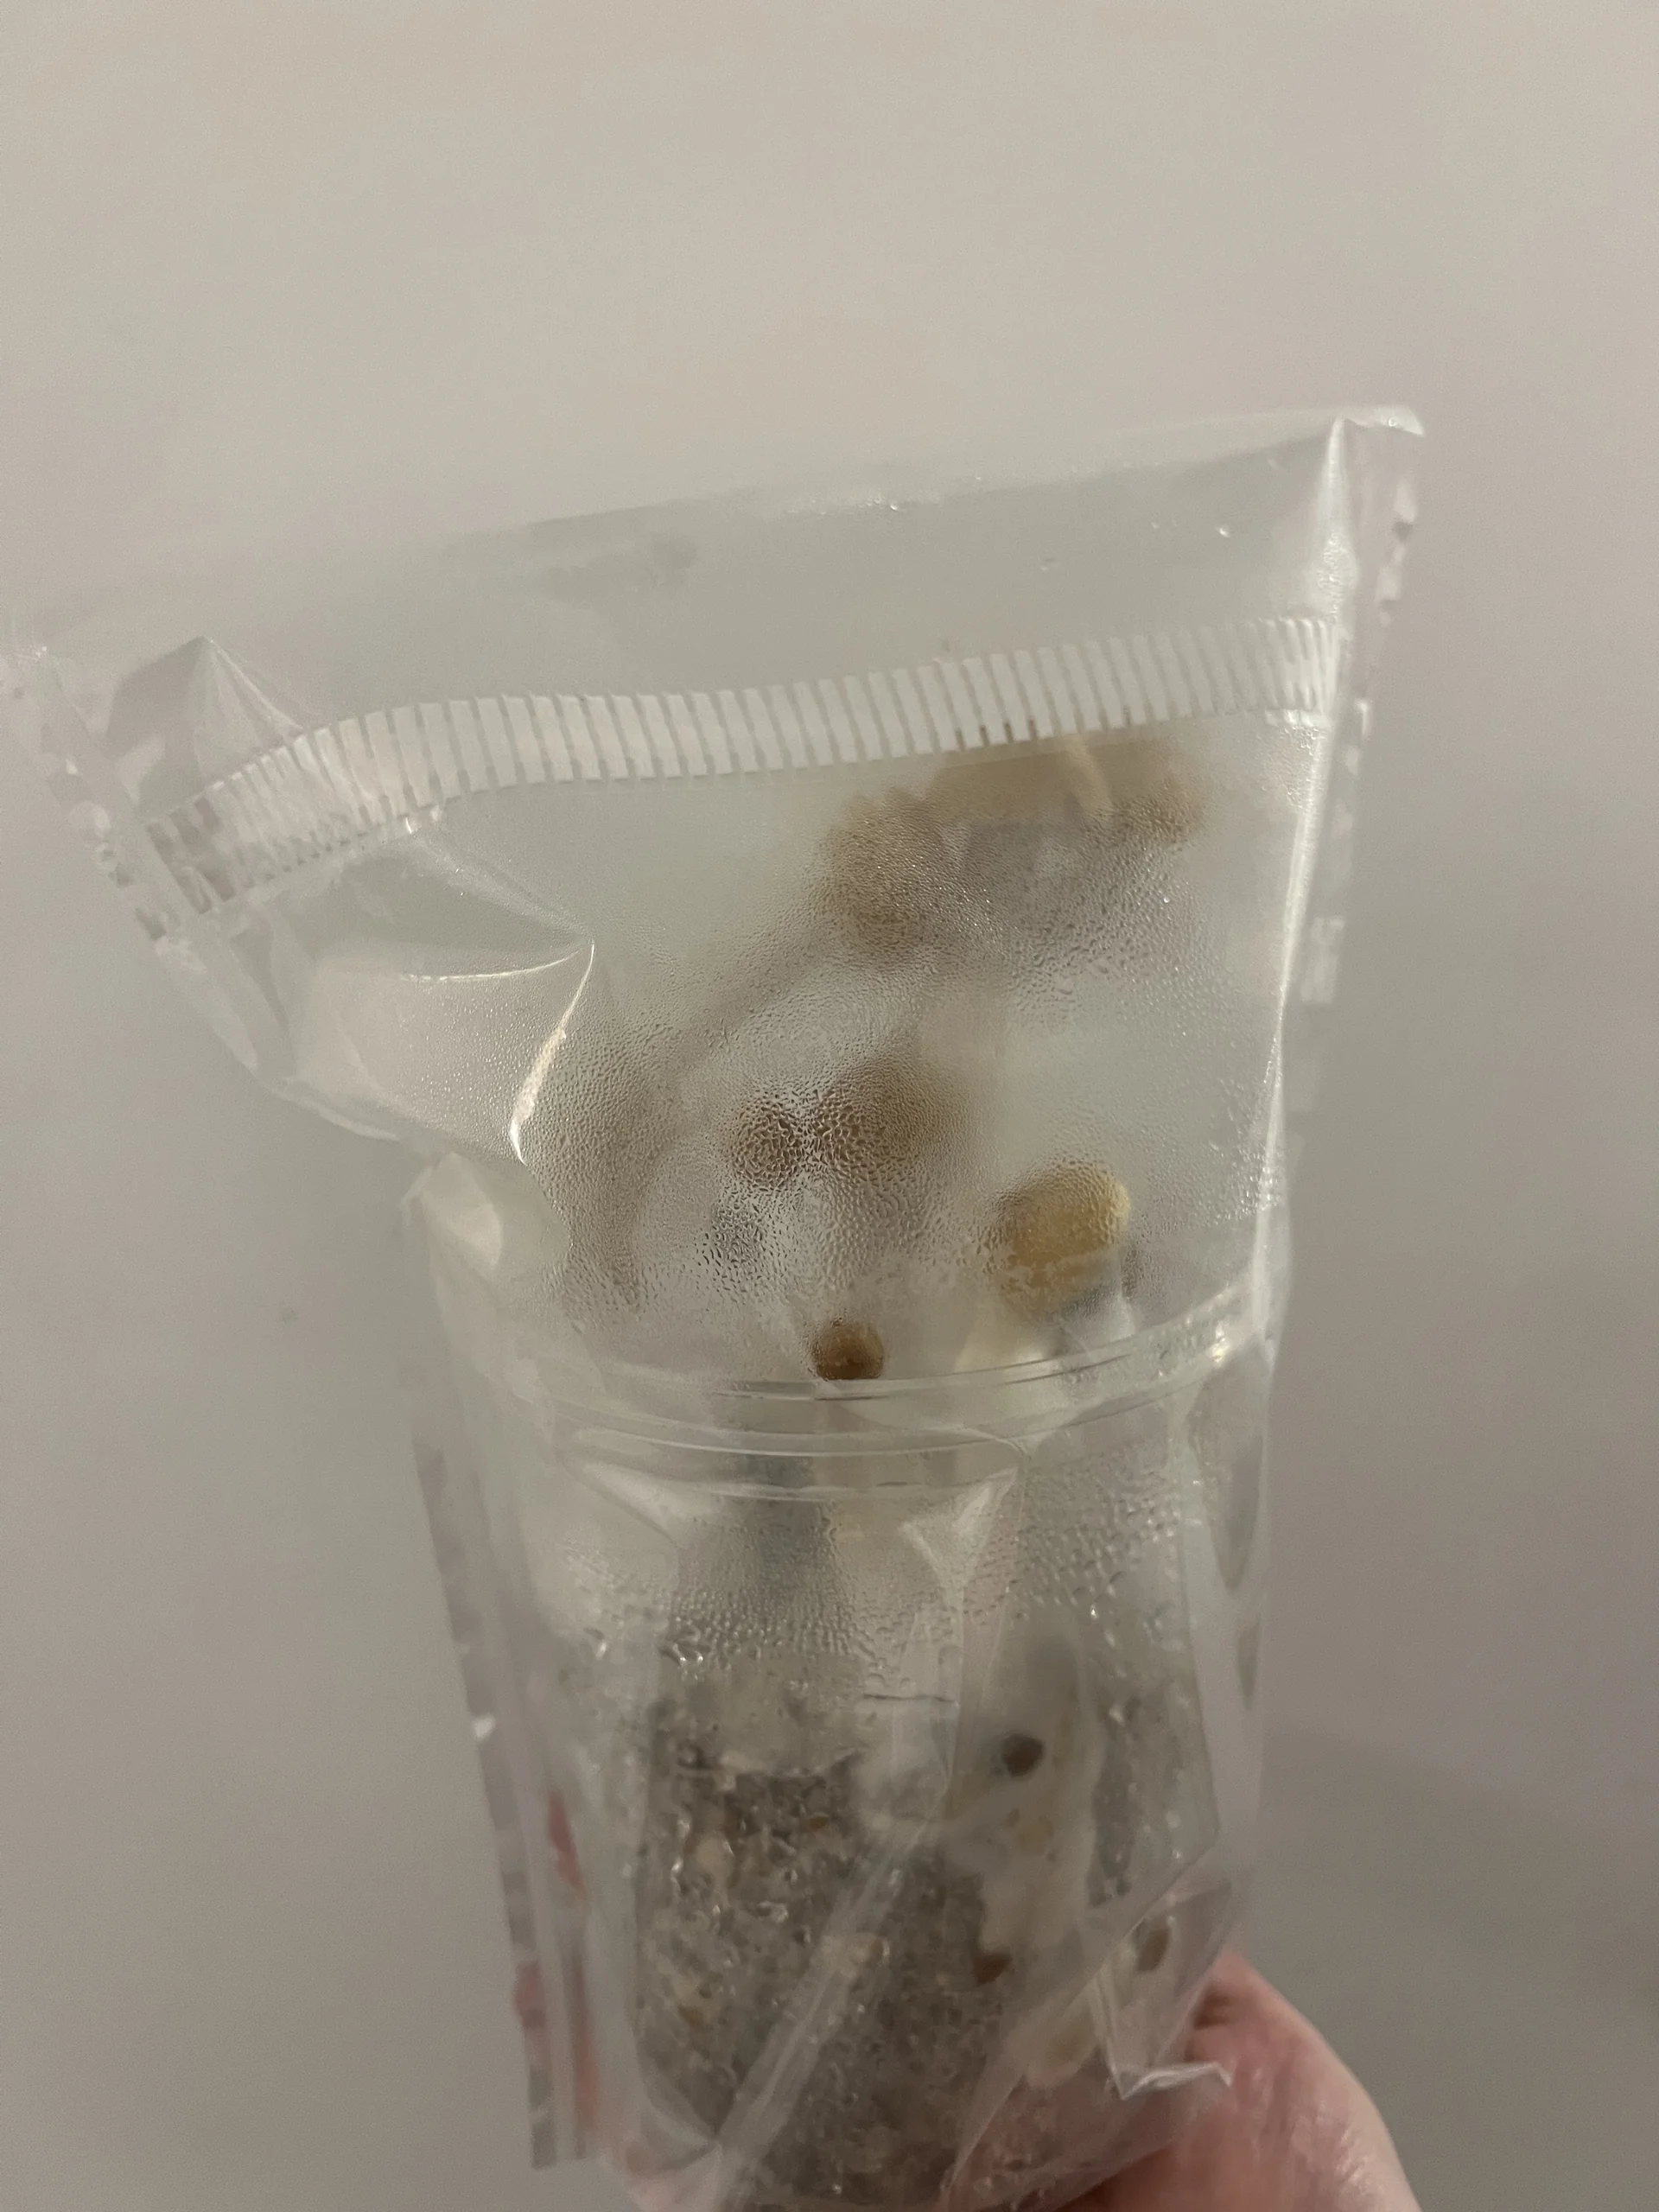
Inject the EZPZ (the all-in-one tub) and wait for the dark substrate to turn nice and white with mushroom mycelium.
Then pop the humidity tent over the top to fruit your mushrooms.
You will receive a guide showing the steps.
Every single EZPZ that we ship out undergoes our strict sterilisation process so that you can be sure you have the best chance of success.
Replacement cover, explained
This product is covered.
This product is covered if something goes wrong, so we can make sure you get another kit to try again with. The last thing we want is customers abandoning this hobby because of a mistake. So, if something goes wrong within 12 weeks of us dispatching it to you then follow the steps below to get a new kit on the way.
How a claim works
No photos, no explanation, nobody to convince.
We built this shop to be human. When you need a replacement, take it.
For cultivating legal gourmet mushroom species only.Sold as a sterile substrate kit for home cultivation. We trust you to be responsible.
We also recommend reading our troubleshooting guide before attempting any grow as it's full of useful information which will help you solve and avoid problems.
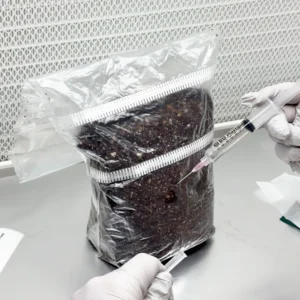
In this initial stage of mushroom cultivation, the goal is to inoculate the sterile EZPZ substrate with your selected gourmet mushroom spores or culture. This process involves preparing a spore/culture syringe and injecting a specific amount of this solution into the EZPZ, our specialized container designed for mushroom growth. It's crucial to maintain a clean and sterile environment throughout this process to prevent any contamination. Also, it's important to ensure the correct amount of spore or culture solution is used, and essential components of the EZPZ, like the air exchange filter, remain undisturbed.
Prepare for the process: First, ensure cleanliness to avoid contamination. Use the blue Clinell wipe provided to thoroughly clean your hands and forearms.
Prepare the mushroom spore/culture syringe: Get your gourmet mushroom spore or culture syringe ready. Attach a new, sterile needle by screwing it onto the syringe.
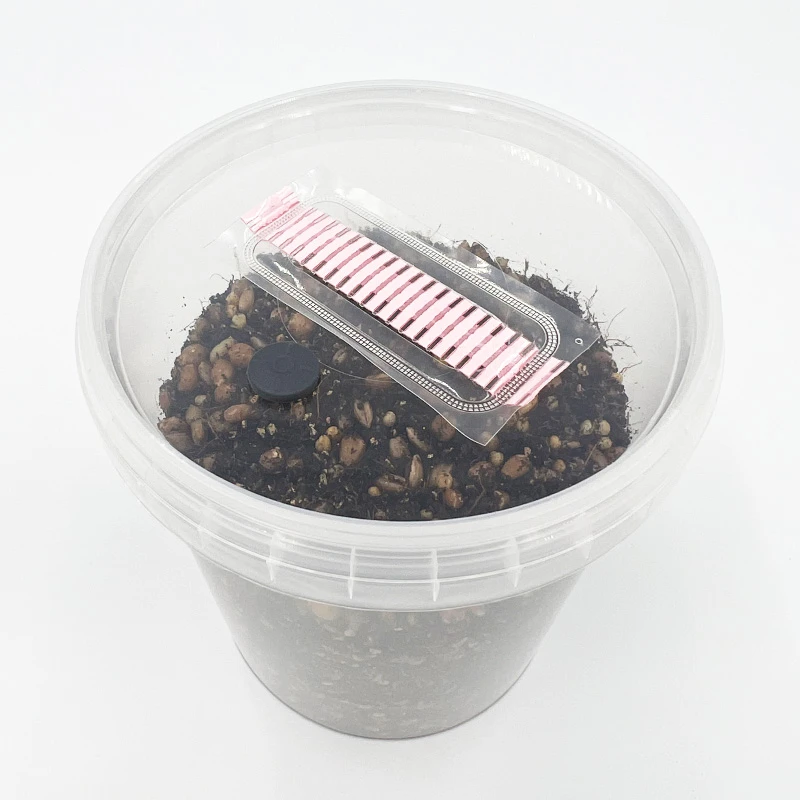
Clean the injection port: On the lid of your EZPZ, you'll find a grey rubber injection port. Use a green Clinell wipe to clean this area.
Be cautious of the pink filter strip: You'll notice a pink filter strip on the lid of your EZPZ. This strip is crucial for maintaining clean air exchange, so don't touch it or attempt to remove it.
Inject the solution: Pierce your needle through the cleaned grey injection port. Aim towards the edge of the EZPZ, then slowly inject 3ml of your spore or culture solution. Please be careful not to exceed 3ml to avoid overfilling.
Β
Step 2, colonisation of the sterile substrate, is where you'll start seeing signs of growth from the mycelium, the root structure of your mushrooms. During this stage, it's essential to provide an environment that's conducive to mycelium growth. This means storing your EZPZ in a place that's not airtight - the EZPZ's original cardboard box is perfect for this. One of the critical factors to monitor is temperature; holding a steady 23C (give or take a couple of degrees) helps avoid problems like contamination or slow growth. While it might be tempting to use heat mats, we advise against it due to potential uneven heat distribution and excessive condensation. If you're having trouble maintaining the right temperature, consider using an incubator for better control. With these conditions met, you should see mycelium growth in 4-5 days, and potentially achieve full colonisation within 14 days.
Don't suffocate your Mycelium: Your Mycelium is a living organism and needs to breathe. Avoid placing your EZPZ in an airtight container.
Use the box for storage: The cardboard box that your EZPZ arrived in makes a perfect storage spot. It will help to keep your colonising EZPZ clean.
Keep an eye on temperature: Temperature plays a significant role in successful colonisation. Avoid temperature extremes; too hot (above 26Β°C) or too cold (below 18Β°C) can lead to problems, like contamination or slow/no growth.
Maintain consistent temperature: Aim to keep a stable temperature of 23C (give or take a couple of degrees). Avoid frequent or drastic temperature fluctuations.
Say no to heat mats: Heat mats can lead to uneven warming, causing excessive condensation. This could result in water buildup, inviting contamination into your EZPZ.
Consider an incubator: If maintaining the right temperature is difficult, think about creating or purchasing an incubator. It's more cost-efficient than constantly heating your home and yields better results.
Wait for growth: At 23C (give or take a couple of degrees), expect to see mycelium growth in about 4 to 5 days. After this point, the growth rate will increase significantly.
Full colonisation timeline: With optimal conditions, your EZPZ could be fully colonised in 14 days. We've tried it ourselves!
In the third stage of the mushroom cultivation process, we transition from mycelium colonisation to mushroom fruiting. Once your EZPZ is fully covered in white mycelium, it's ready to be prepped for this fruiting phase, which begins with a process known as 'dunking'. Dunking involves hydrating the substrate to stimulate mushroom growth. After this, the EZPZ is moved to a grow tent where conditions such as temperature and humidity are carefully managed. There's no need for misting in this stage; the natural humidity generated within the grow tent will suffice. Harvesting your mushrooms comes next when the veil beneath the mushroom cap is about to tear. After the initial harvest, the dunking process is repeated to stimulate further flushes of mushroom growth. With appropriate care, your EZPZ can produce multiple flushes until the substrate nutrients are exhausted.
Wait for full colonisation: Wait until your EZPZ is entirely covered in white mycelium - that's when you know it's fully colonised and ready for the next step.
Prepare for 'dunking': 'Dunking' is a method used to add moisture to your substrate to prepare it for fruiting. Fill your EZPZ (with the colonised substrate inside) with water, then secure the lid. Leave it for 4-6 hours before draining all the water.
Move to the grow tent: After draining, remove the lid from your EZPZ and place it in the grow tent. Seal the tent's opening with selotape.
Manage temperature: For the fruiting stage, keep the temperature slightly lower than your incubation temperature, ideally 21C (give or take a couple of degrees).
Humidity is key: At the right temperature, humidity will naturally increase inside the grow tent due to the water soaked into the substrate. This is crucial for fruiting.
No need for misting: Unlike some other kits, you don't need to mist this one. Only open the tent when it's time to harvest your mushrooms.
Harvest time: When the veil under one of your mushroom caps is about to tear, it's time to harvest your first flush. Use a clean scalpel or knife to cut the mushrooms off.
Repeat the dunking process: After harvesting, add more moisture to your cake by filling the EZPZ with water and leaving it for 4-6 hours. Then drain the water. If you've misplaced the EZPZ lid, use tin foil or cling film as a cover during soaking. After draining, place the EZPZ back into the grow tent.
Expect multiple flushes: Continue this dunking process after each flush. With proper care, you should be able to get multiple mushroom flushes from your grow kit until all nutrients are used up.
Β
Thanks for choosing our grow kit! We hope you enjoy the process and the results!
Β
In addition to the main steps of growing mushrooms with our kit, there are several other practices that can enhance your results. Central to healthy mushroom development is a balance between humidity, fresh air exchange (FAE), temperature, and light. You can increase FAE by making small slits in your grow tent and using a fan to circulate air gently within the room. Providing indirect sunlight or using an LED/fluorescent light with a specific wavelength can also help mushrooms grow optimally. If your grow tent seems dry, there are various adjustments you can make, such as adjusting the environment's temperature or the position of your fan or grow lights. Within a week of entering the grow tent, you should see small white dots known as hyphal knots, which will develop into mushroom pins. Keep a close eye on your mushrooms' growth and adjust your setup if needed, especially the level of FAE. It's all about observing and making necessary tweaks to achieve that delicate balance for optimal mushroom growth.
Achieving the best results: For healthy mushroom development, maintaining a balance between humidity, fresh air exchange (FAE), temperature, and light is key.
Increase FAE: To enhance FAE, make a 1cm slit on both sides of the grow tent, near the top. Position an electric fan in the room on a low setting, which will stimulate a gentle air current and increase FAE inside the tent.
Provide sufficient light: Provide indirect sunlight or place a 6-7000K LED/fluorescent light a couple of feet away. This will give your mushrooms the necessary light for optimal growth.
Troubleshoot dry conditions: If your grow tent seems dry, it could be due to the following:
Watch for the first signs of growth: After 3-7 days in the grow tent, you should see tiny white dots (hyphal knots) that will develop into primordia (the precursor to mushroom pins).
Mushroom development: It usually takes another 4-5 days for these pins to grow into mature mushrooms. Keep an eye on their progress; they'll let you know if conditions aren't right.
Adjust FAE if needed: If you see fuzzy mycelium at the base of the mushrooms or thin stems, you may need to increase FAE. Try increasing the fan speed or enlarging the slits in the bag.
Observe and adjust: The fruiting stage requires careful observation. Adjust your setup as needed to maintain the balance of humidity, FAE, temperature, and light.