Skip to content
Secure checkout
Account
Basket£0.00

No products in the cart.

Home / Mushroom Cultivation / Mushroom Grow Kits / XXL MycMonster Mushroom Grow Kit

EZ-Replacement A sealed grow bag of pale colonising grain held on a steel worktop 1 / 4
Show: A sealed grow bag of pale colonising grain held on a steel worktop
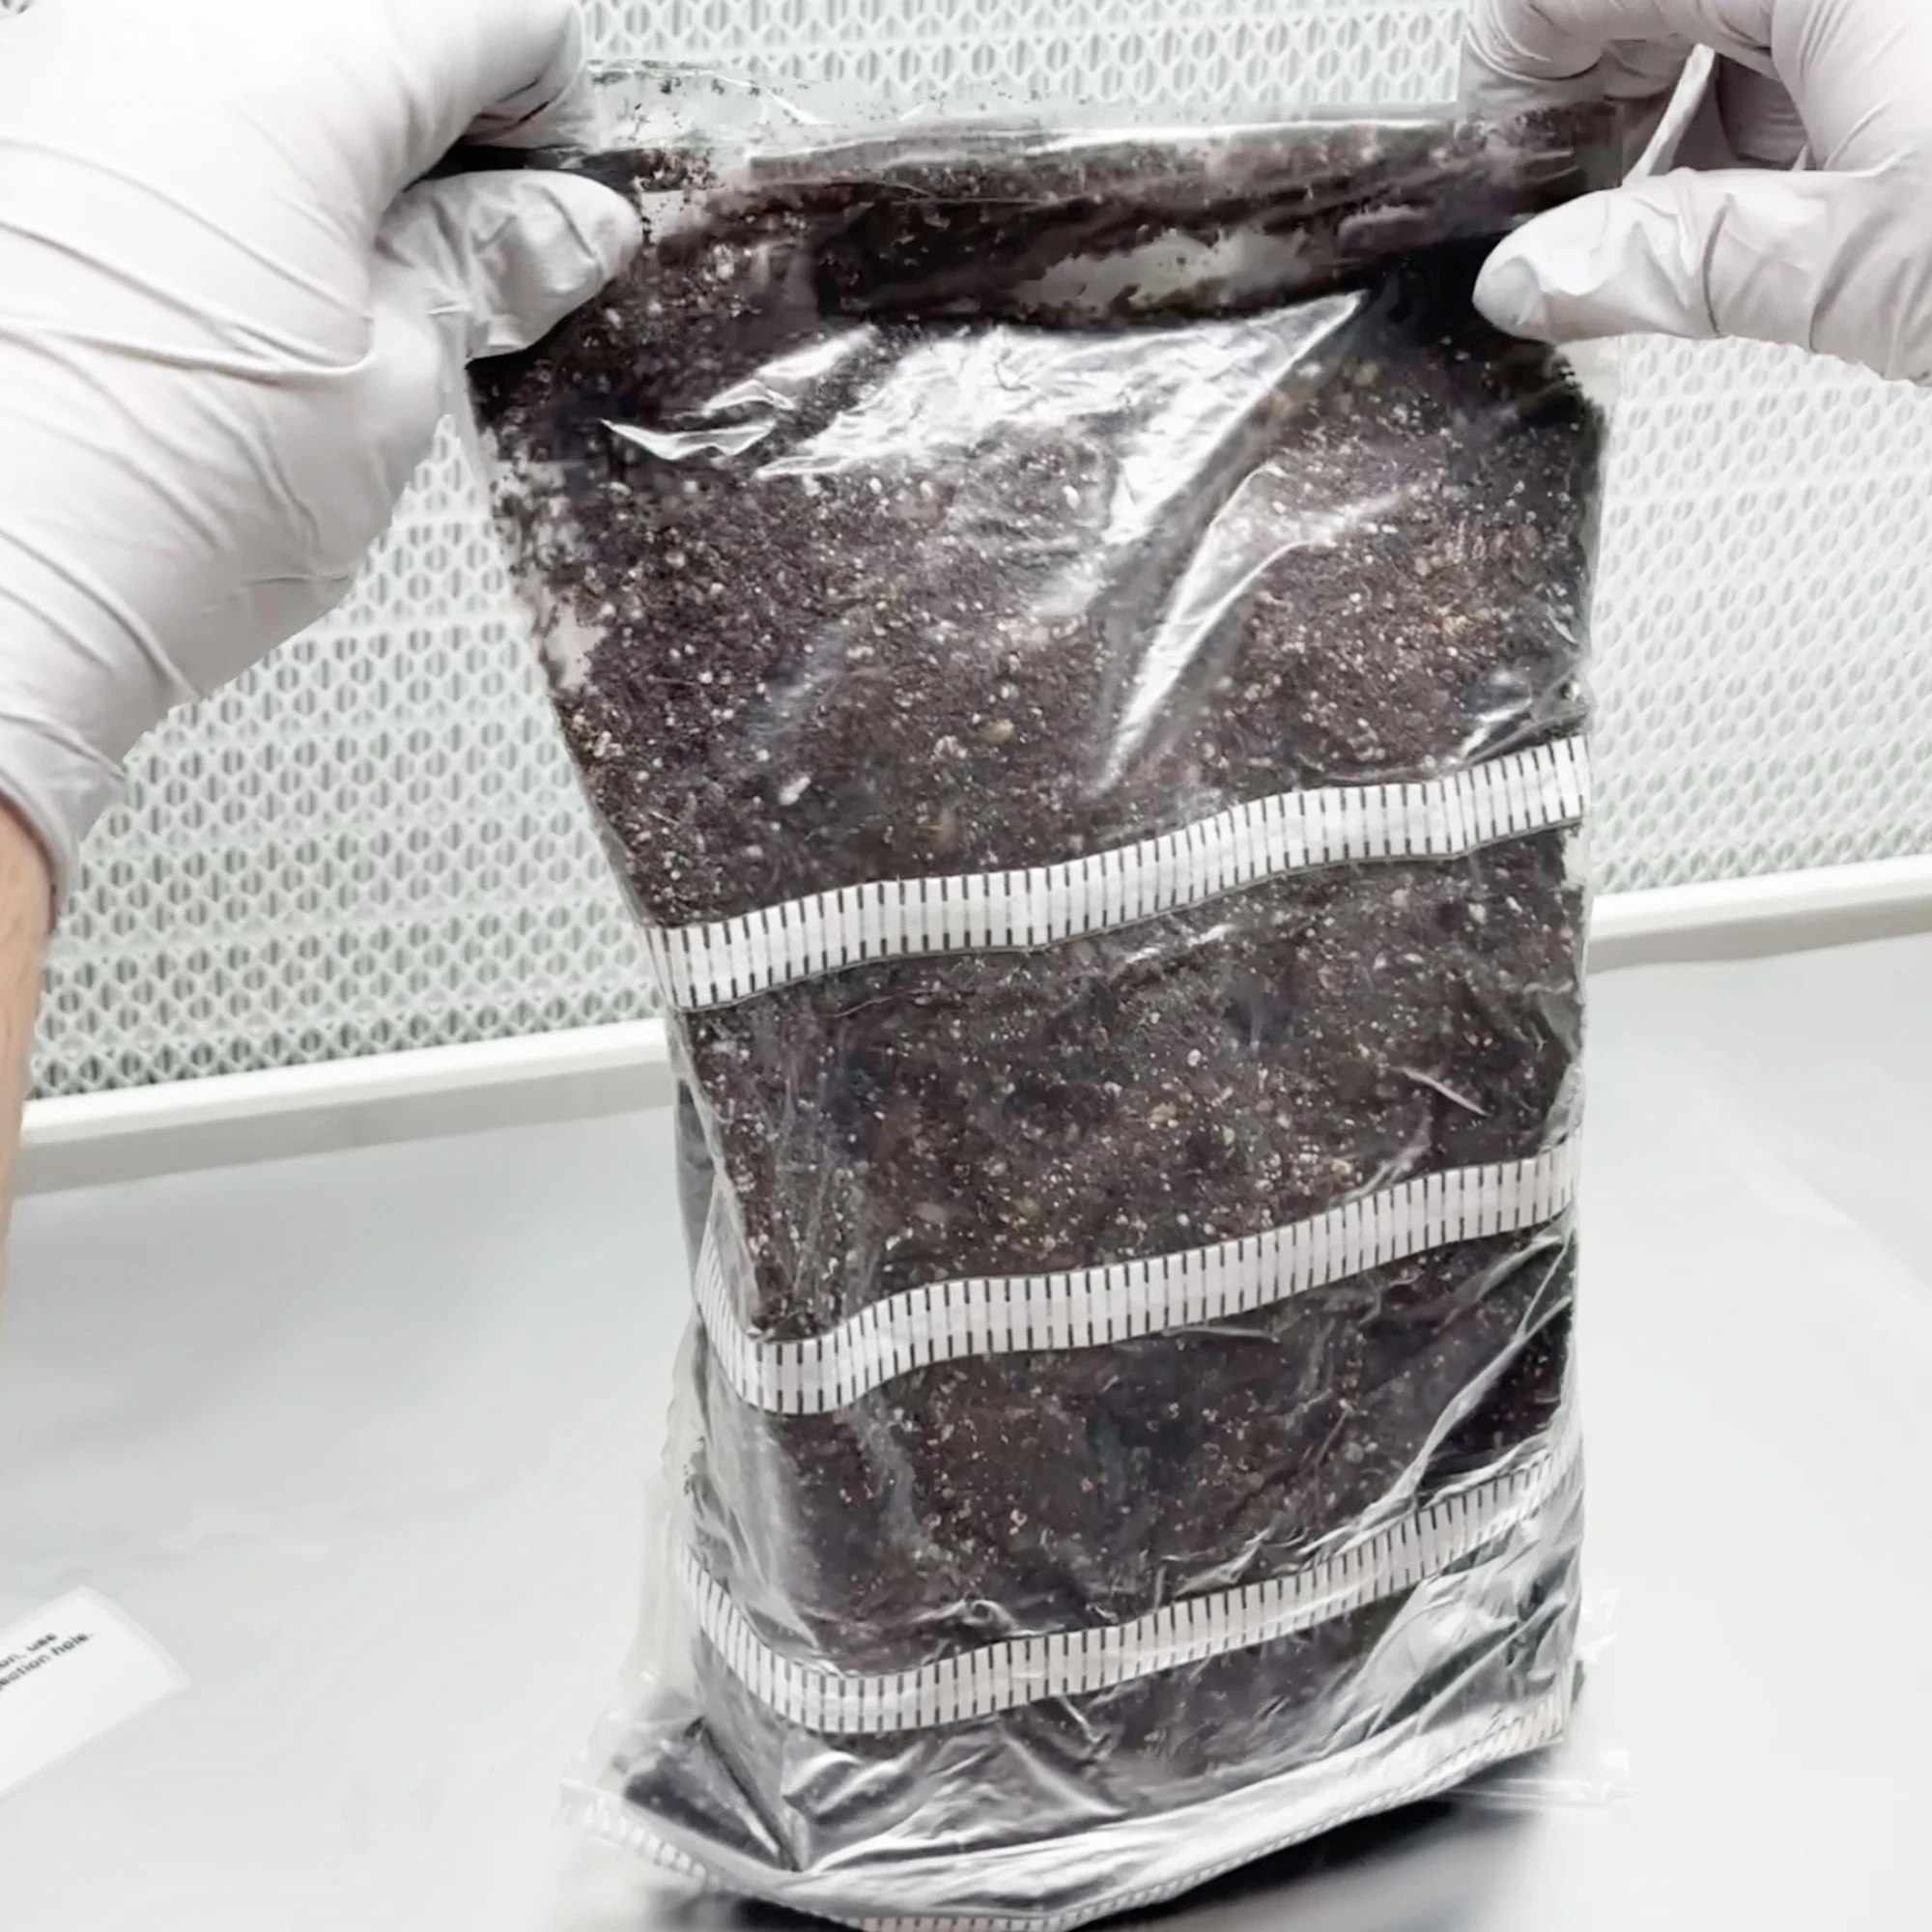
Show: A hand holding a large bag of substrate fully run through with white mycelium
Show: A grow bag of golden grain part-colonised with patches of white mycelium

XXL MycMonster Mushroom Grow Kit

MycMonsterโ„ข is a beginner-friendly, super simple Grow Kit built for monstrously fast growth and colossal yields.

August 2026: We have changed this product, it now has 50% more substrate, as well as redundancy as noted in the description (so if something goes wrong with one, you can still get there with the other).

£34.95

0-3 working day dispatch or free grow kit if we are late (UK-only pledge). Order and pay before 1pm Monday to Friday.

MycMonsterโ„ข Mushroom Grow Kit

Who's This Kit For?

Perfect for anyone who wants grow mushrooms easily and rapidly. Whether you're a beginner or an experienced grower, if speed and simplicity are your priorities, the MycMonsterโ„ข range delivers. With full colonisation from gourmet syringe in as little as 10 days due to Substrate B, it's probably the fastest grow kit money can buy right now.

Our Advanced Sterile Substrate B

It might resemble our Cylocybe Special substrate from the XL Cylocybe Special Mushroom Grow Kit, but this is next-level. We crafted Substrate B specifically for the MycMonsterโ„ข - it's our quickest, most advanced mushroom substrate yet, designed for rapid growth and big yields.

Inoculation

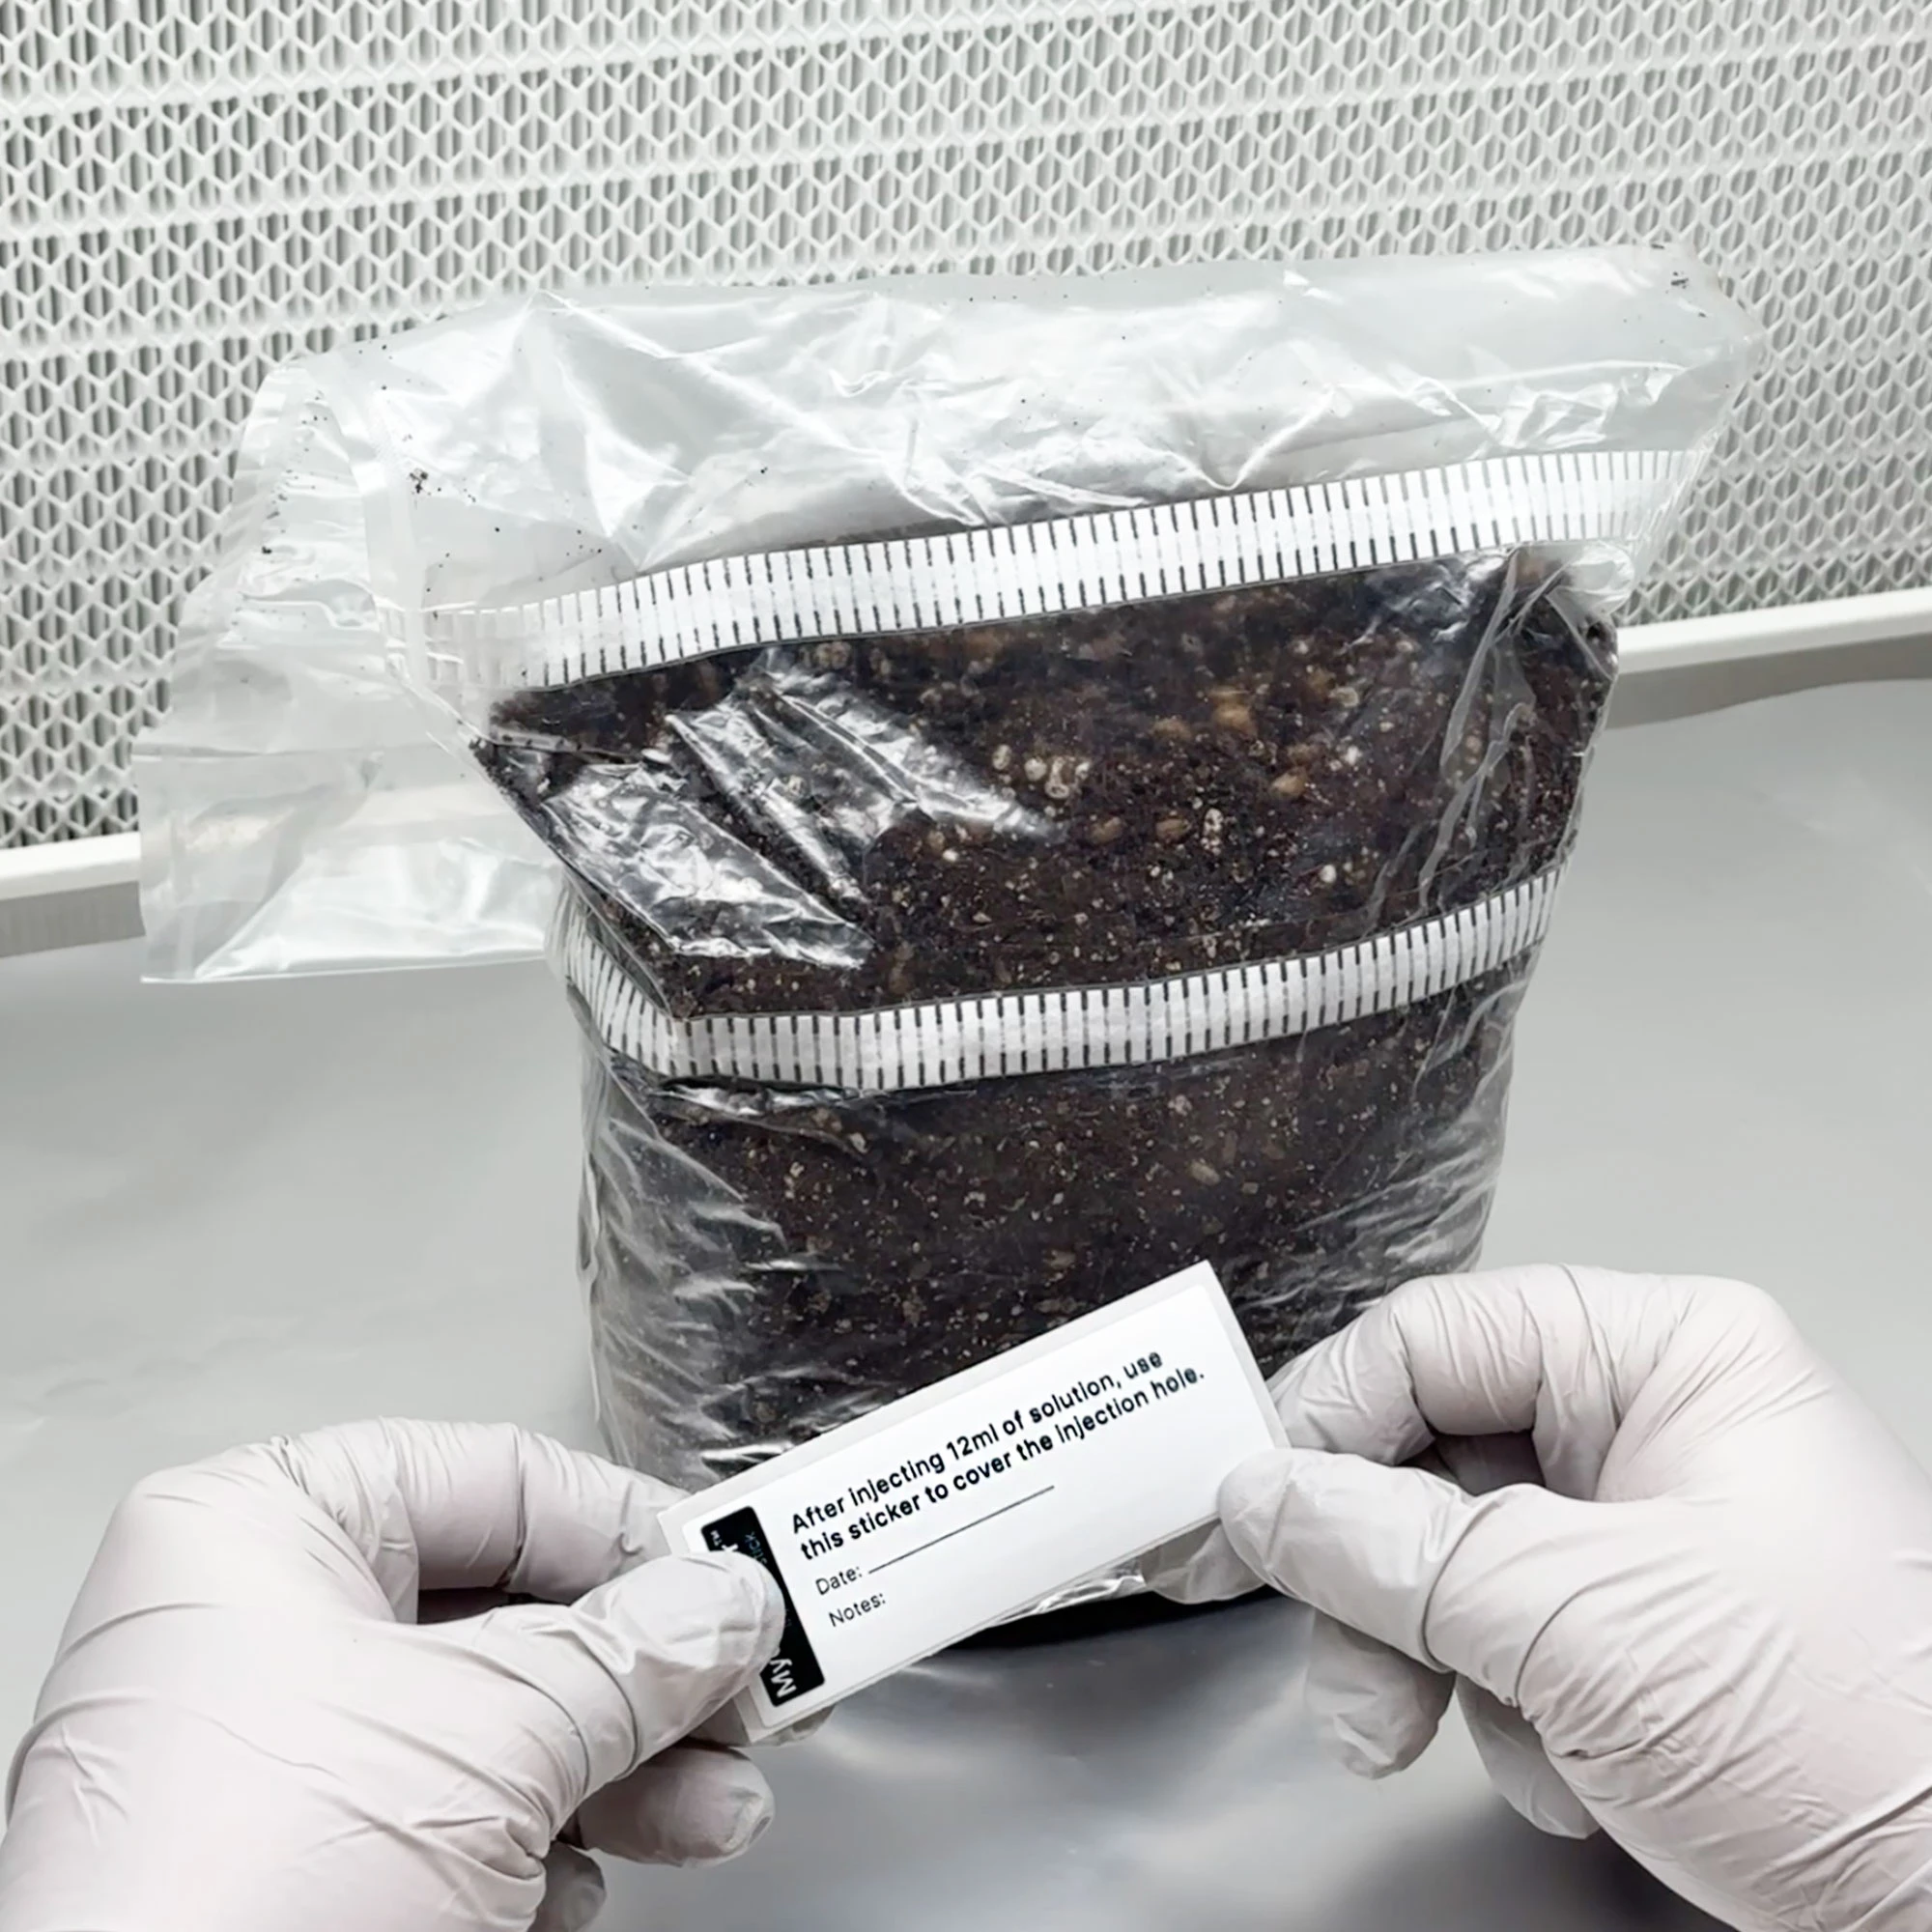
If you know how to stick a sticker, you know how to inject the MycMonster. It's really that simple.

Plenty of fruiting space, humidity, casing layer, and even better spore testing tools.

  • 2x 1.5L MycMonsterโ„ข bags (prefilled with Sterile Substrate B)
  • Fruiting: XXL Fruiting Tent (our latest 2026 tent doesn't look the same as the picture, it's bigger and with better airflow) with specialised clean air-exchange filters
  • Sanitation: 2ร— isopropyl alcohol wipes, 1ร— hand wipe, 2x 18G sterile needle
  • Online Instructions

MycMonsterโ„ข: Flexible Fruiting Options

  • 2 x 1.5L MycMonsterโ„ข bags means redundancy. If one fails, your time isn't lost. You inject each, then if all goes to plan you;ll remove the colonised substrate from each and place into the XXL tent to fruit them. If one fails, then one will go in.
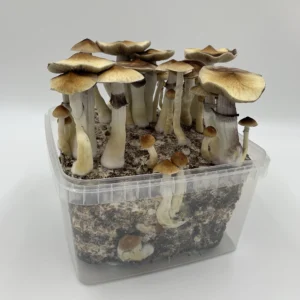
  • You can also crumble the colonised substrate,pour it into the XXL tent and allow it to recolonise, like in the picture then fruit from a wider, even layer for potentially bigger harvests. Your choice.

Important Warnings

The specialised filters on the bag and tents manage clean air exchange - please don't remove them.

NEVER cut open the MycMonsterโ„ข before it's fully colonised by mycelium, or contamination may ruin the kit.

Not Included

  • Gourmet spore or liquid culture syringe - you'll need exactly a full 12ml for each bag (no more, no less).

Storage Tips

We recommend inoculating your MycMonsterโ„ข within 4 weeks of receiving it for the best results.

Helpful Advice

  • Keep incubation temperatures around 23C (give or take a couple of degrees).
  • Never place this kit on direct heat, like a heatmat.
  • Always follow the included instructions carefully.

Shipping & Legal Notes

We ship from the UK to almost anywhere in the world. Each kit is made fresh to order (see our shipping and dispatch page for more info).

This product is for cultivating legal mushroom species only
Replacement cover, explained

EZ-Replacement

This product is covered.

This product is covered if something goes wrong, so we can make sure you get another kit to try again with. The last thing we want is customers abandoning this hobby because of a mistake. So, if something goes wrong within 12 weeks of us dispatching it to you then follow the steps below to get a new kit on the way.

How a claim works

  1. Open the replacement portal. Sign in, or use the order code we sent you.
  2. Pick the order and the item. If more than one is affected, say how many.
  3. The replacement lands in your basket at £0.
  4. Check out and pay the postage. That is the only thing you pay.

No photos, no explanation, nobody to convince.

We built this shop to be human. When you need a replacement, take it.

Read how it works →

MYCMONSTER GROW KIT
INSTRUCTIONS

2025October 2025

Follow this comprehensive guide to achieve the best results with your MycMonsterโ„ข Grow Kit.

KIT CONTENTS

MycMonsterโ„ข Includes:

  • 2000ml Sterile Substrate B MycMonster with Peel & Seal
  • XXL Fruiting Tent as an alternative for fruiting your mushrooms
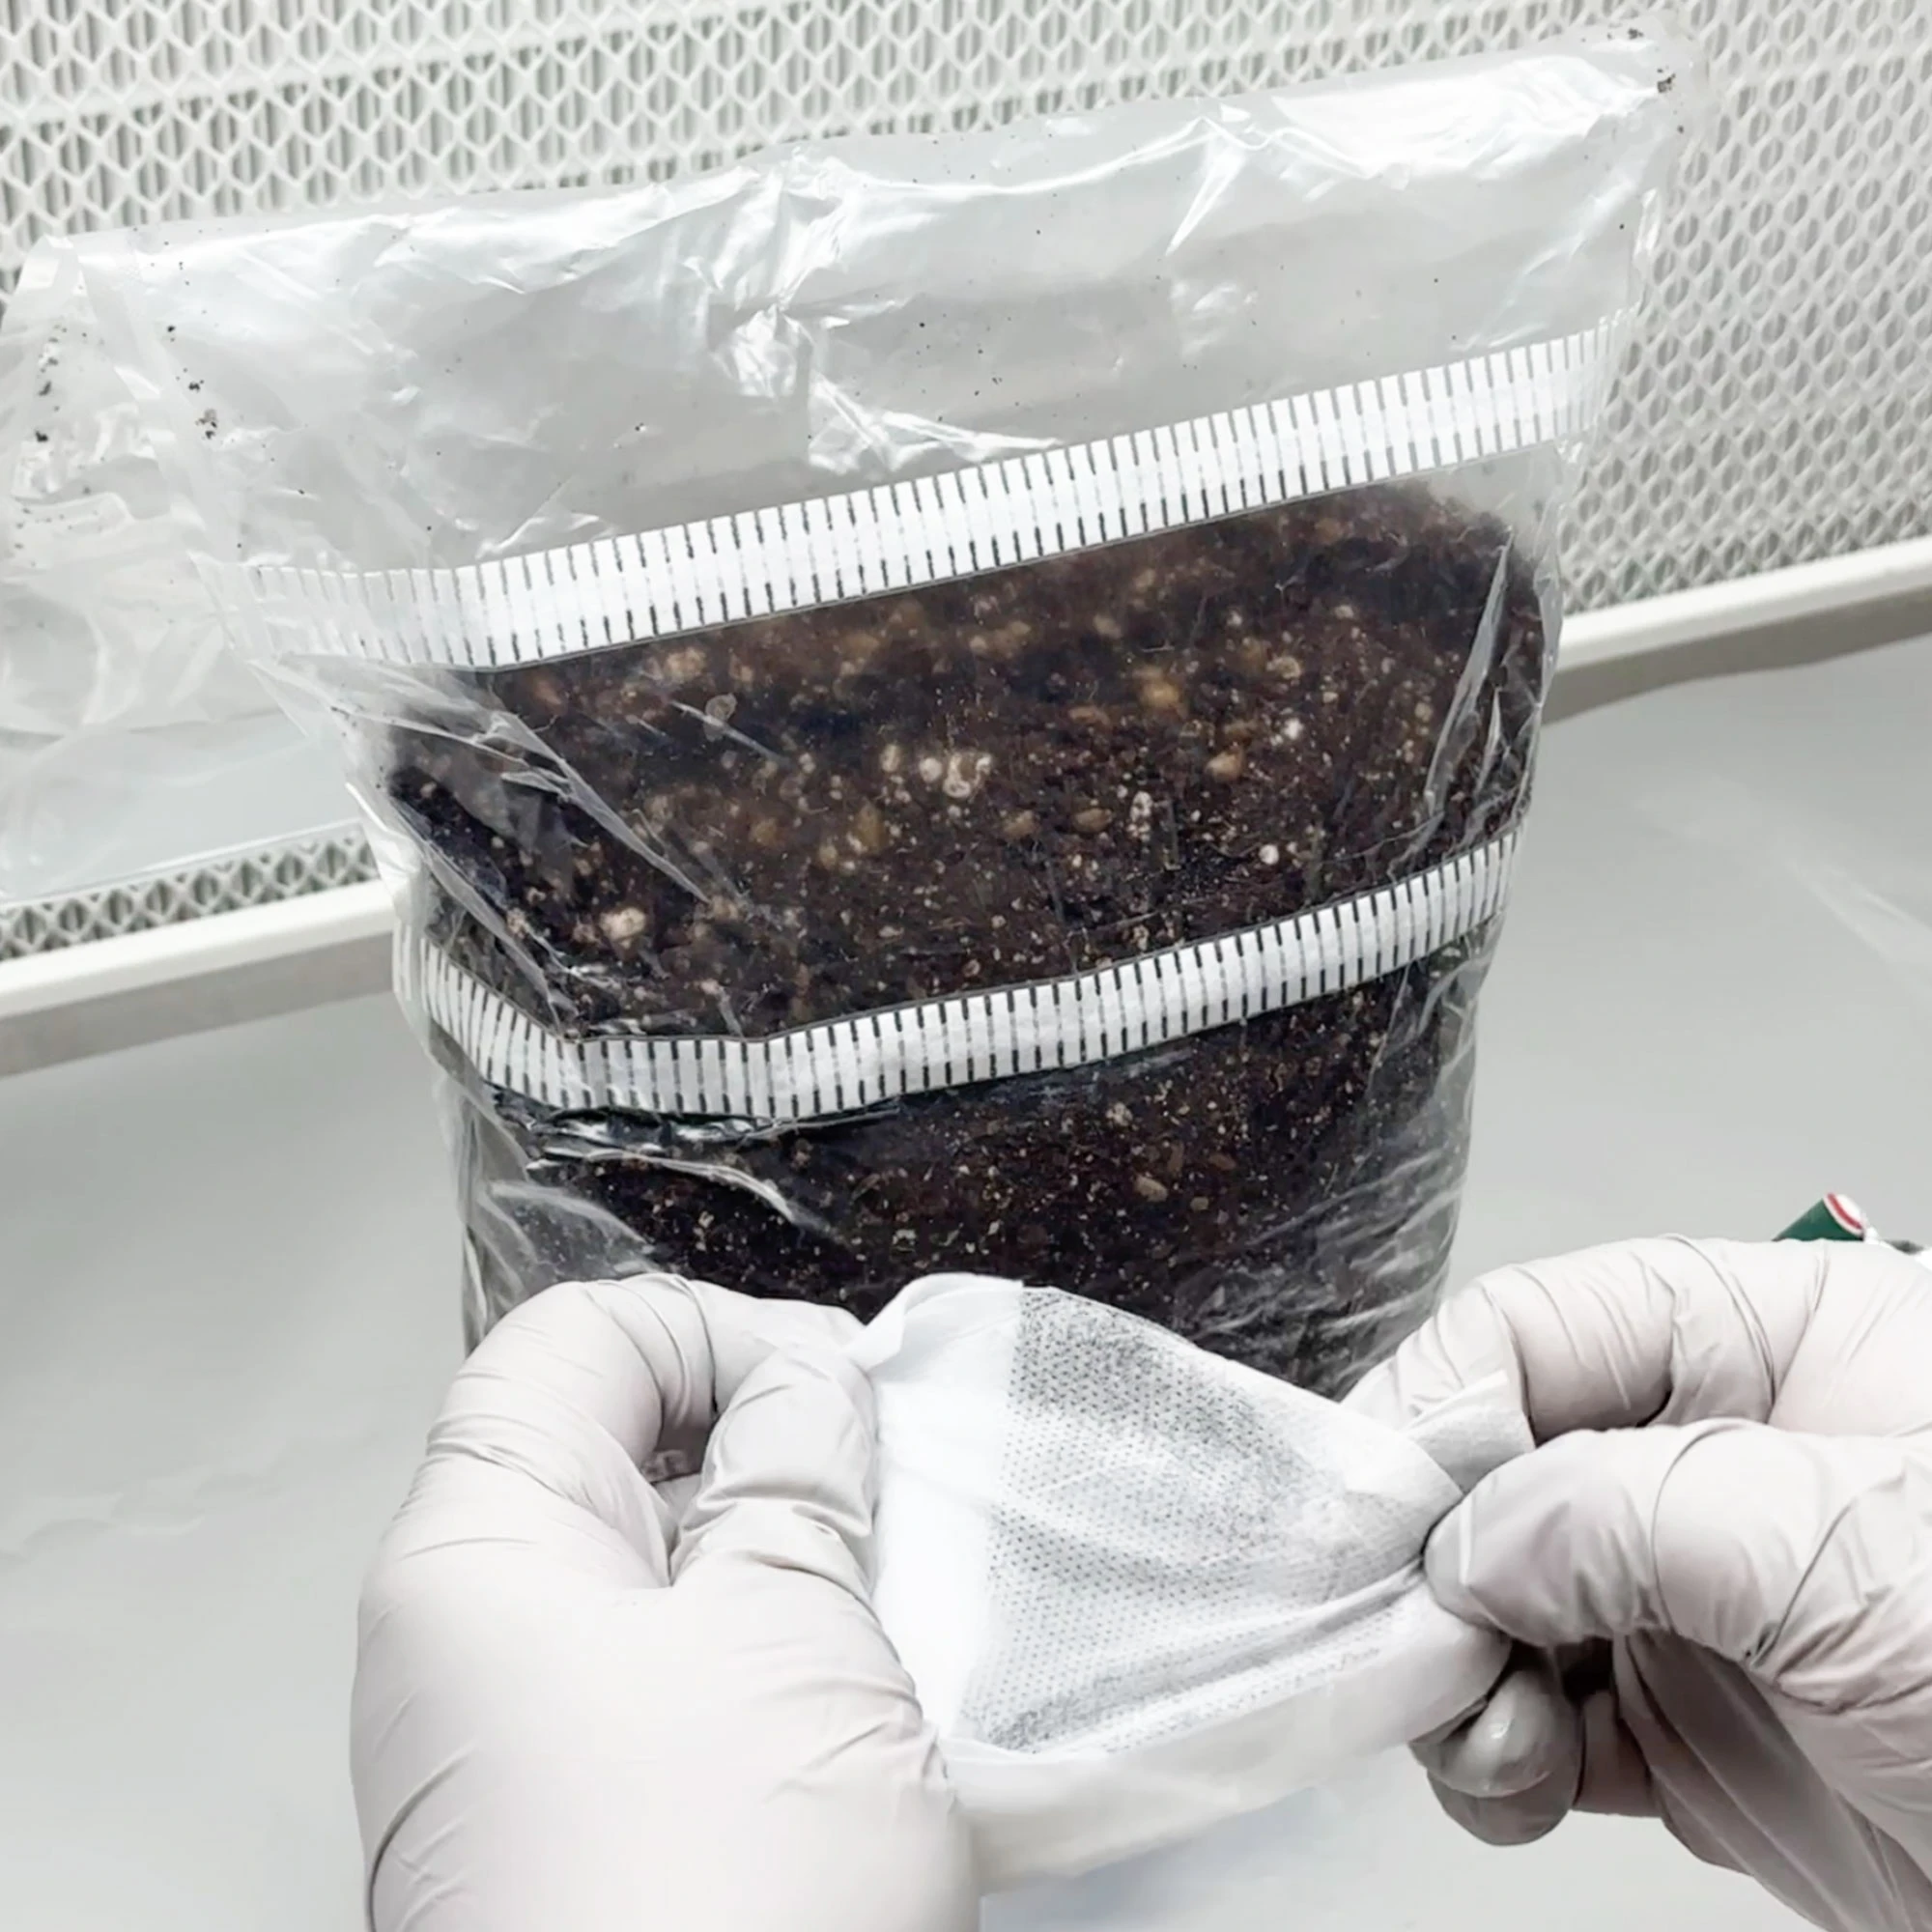
  • Hygiene Kit with 2x chlorhexidine wipes, 2x hand wipes, 1x facemask and 2x sterile needles
  • Agar SporeKitโ„ข for optional spore testing and culture syringe generation
  • Grain SporeKitโ„ข for optional spore testing and G2G syringe generation

Required: 12ml gourmet spore syringe

Step 1: Inoculation of MycMonster

Reducing the risk of contamination is crucial in successful mushroom cultivation, and you can achieve this by working in a small, clean, and draft-free space, ideally using a Still-Air Box (SAB) and taking thoughtful steps to reduce the chance of cross contamination.

Before starting, cleanliness is key. Shower, clean clothes. Your hygiene kit contains a face mask and wipes for cleaning your hands and forearms also.

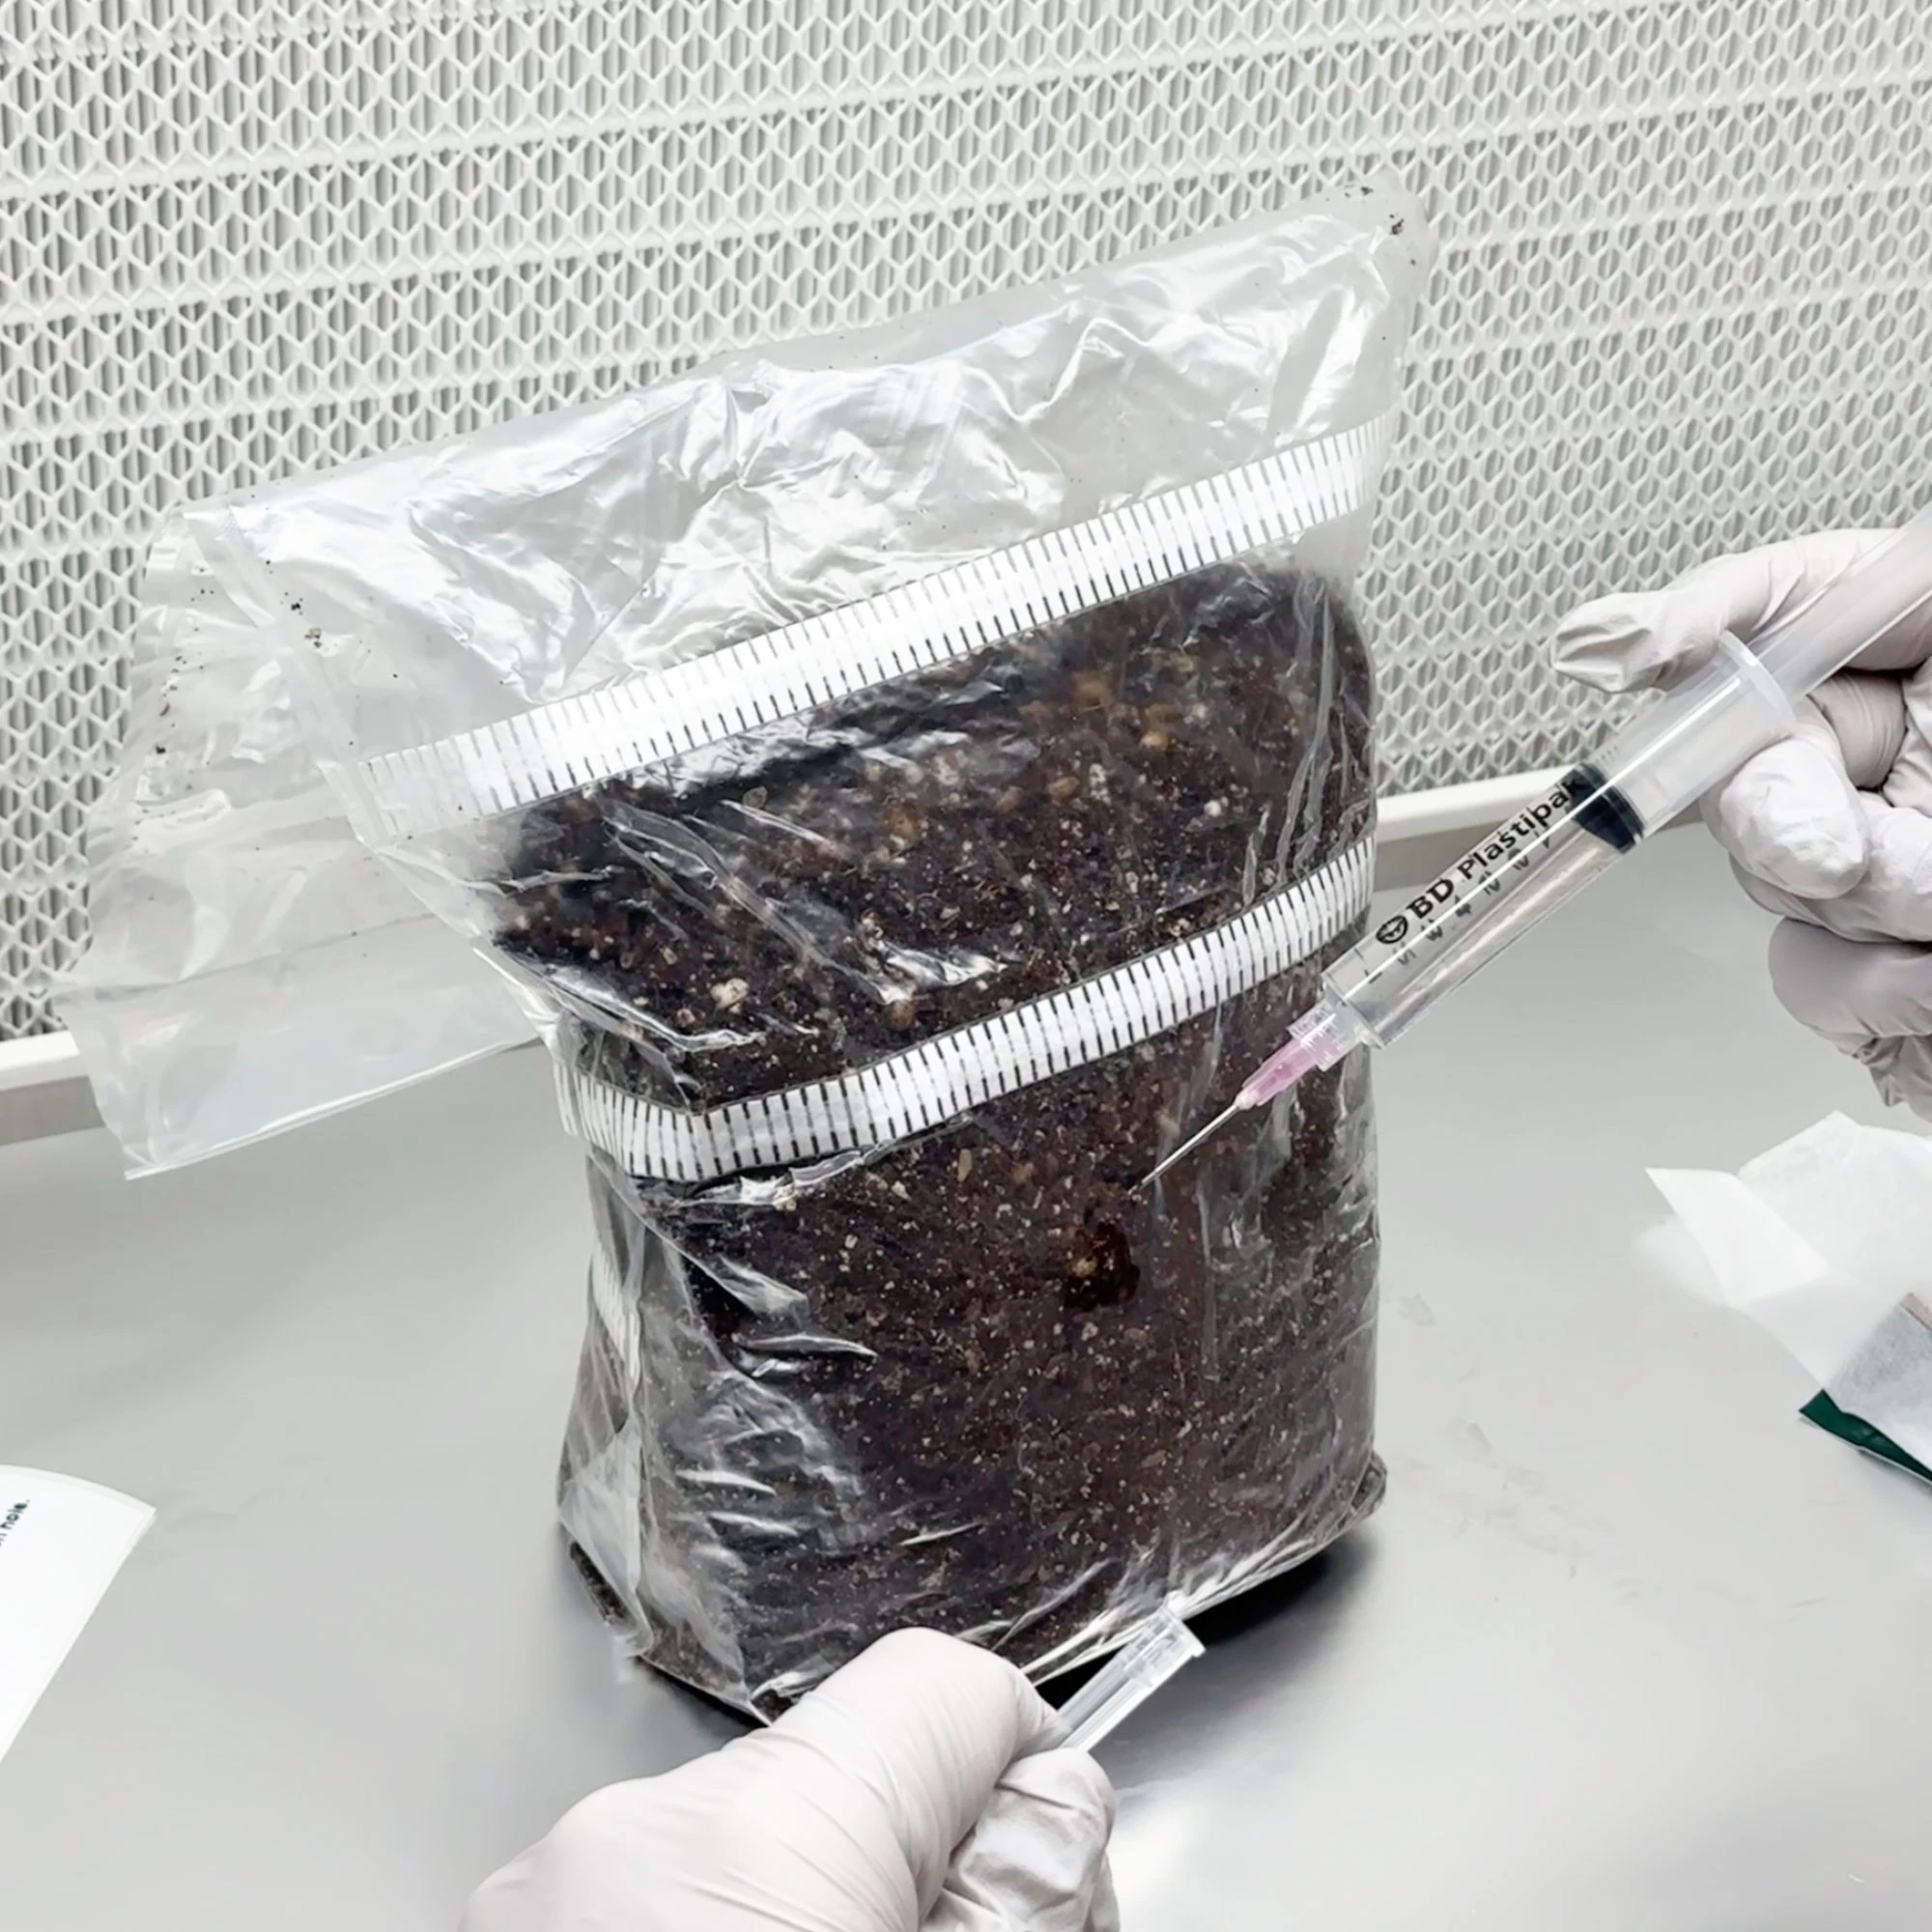
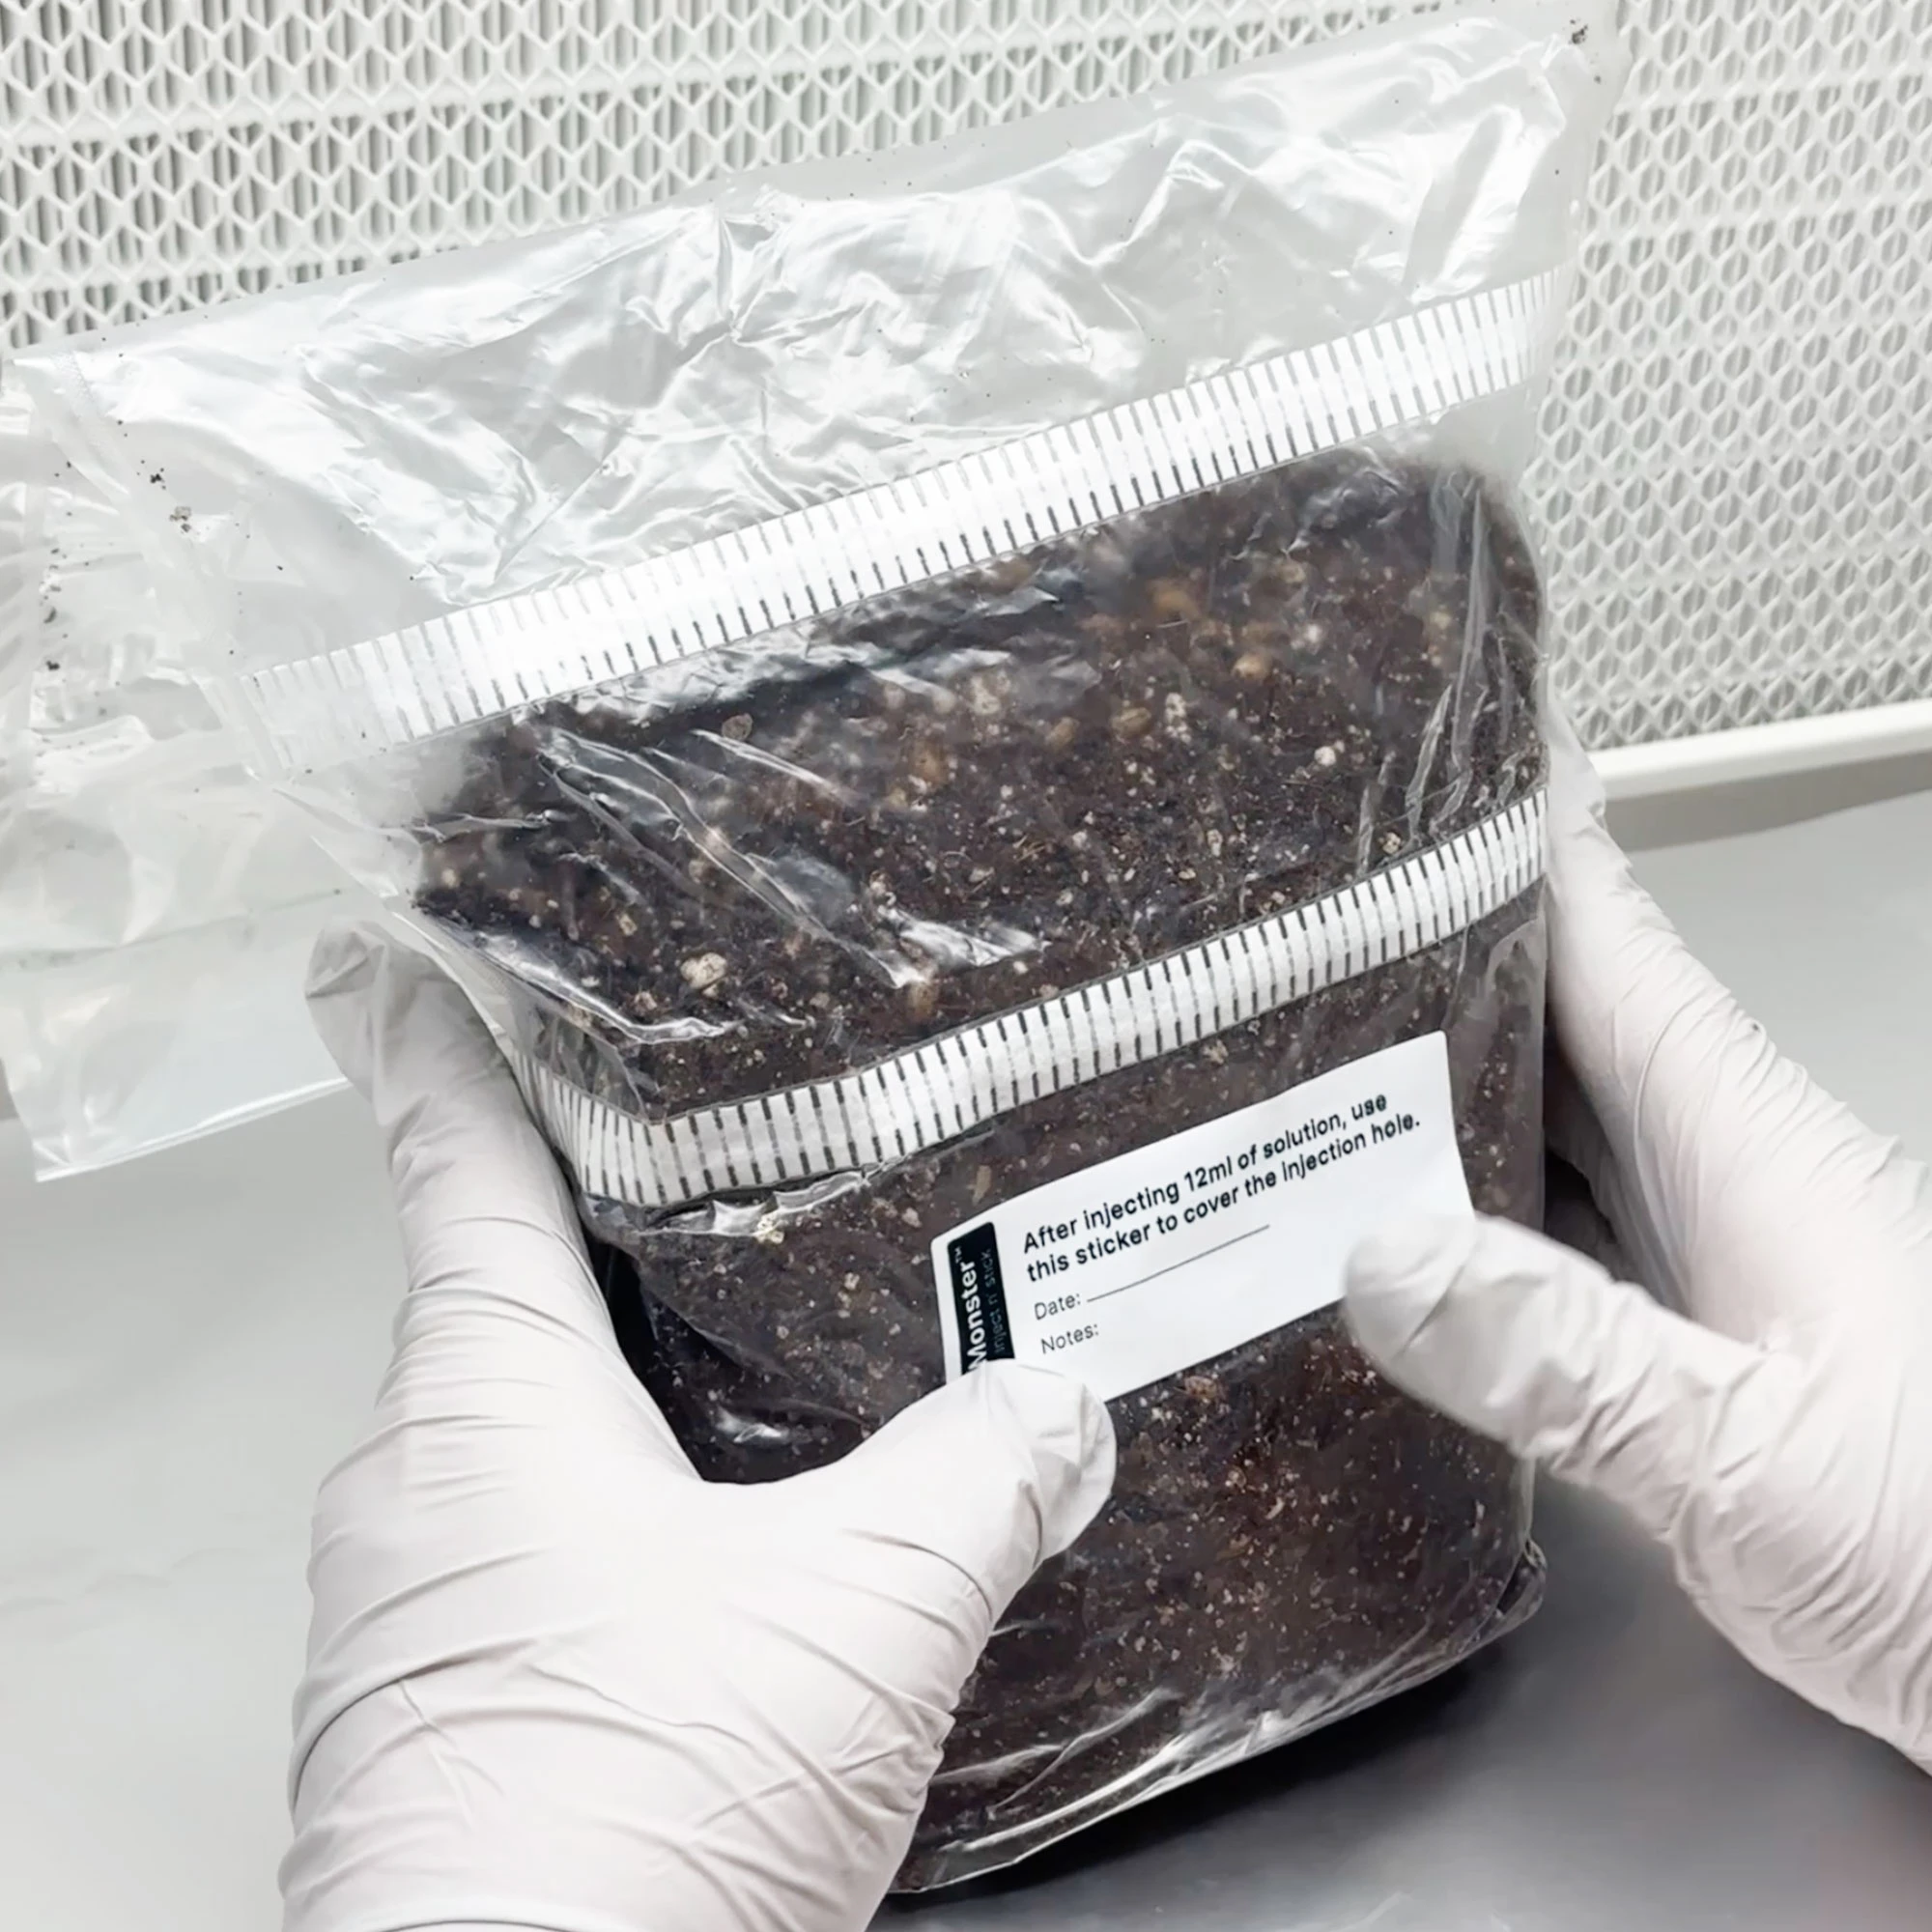
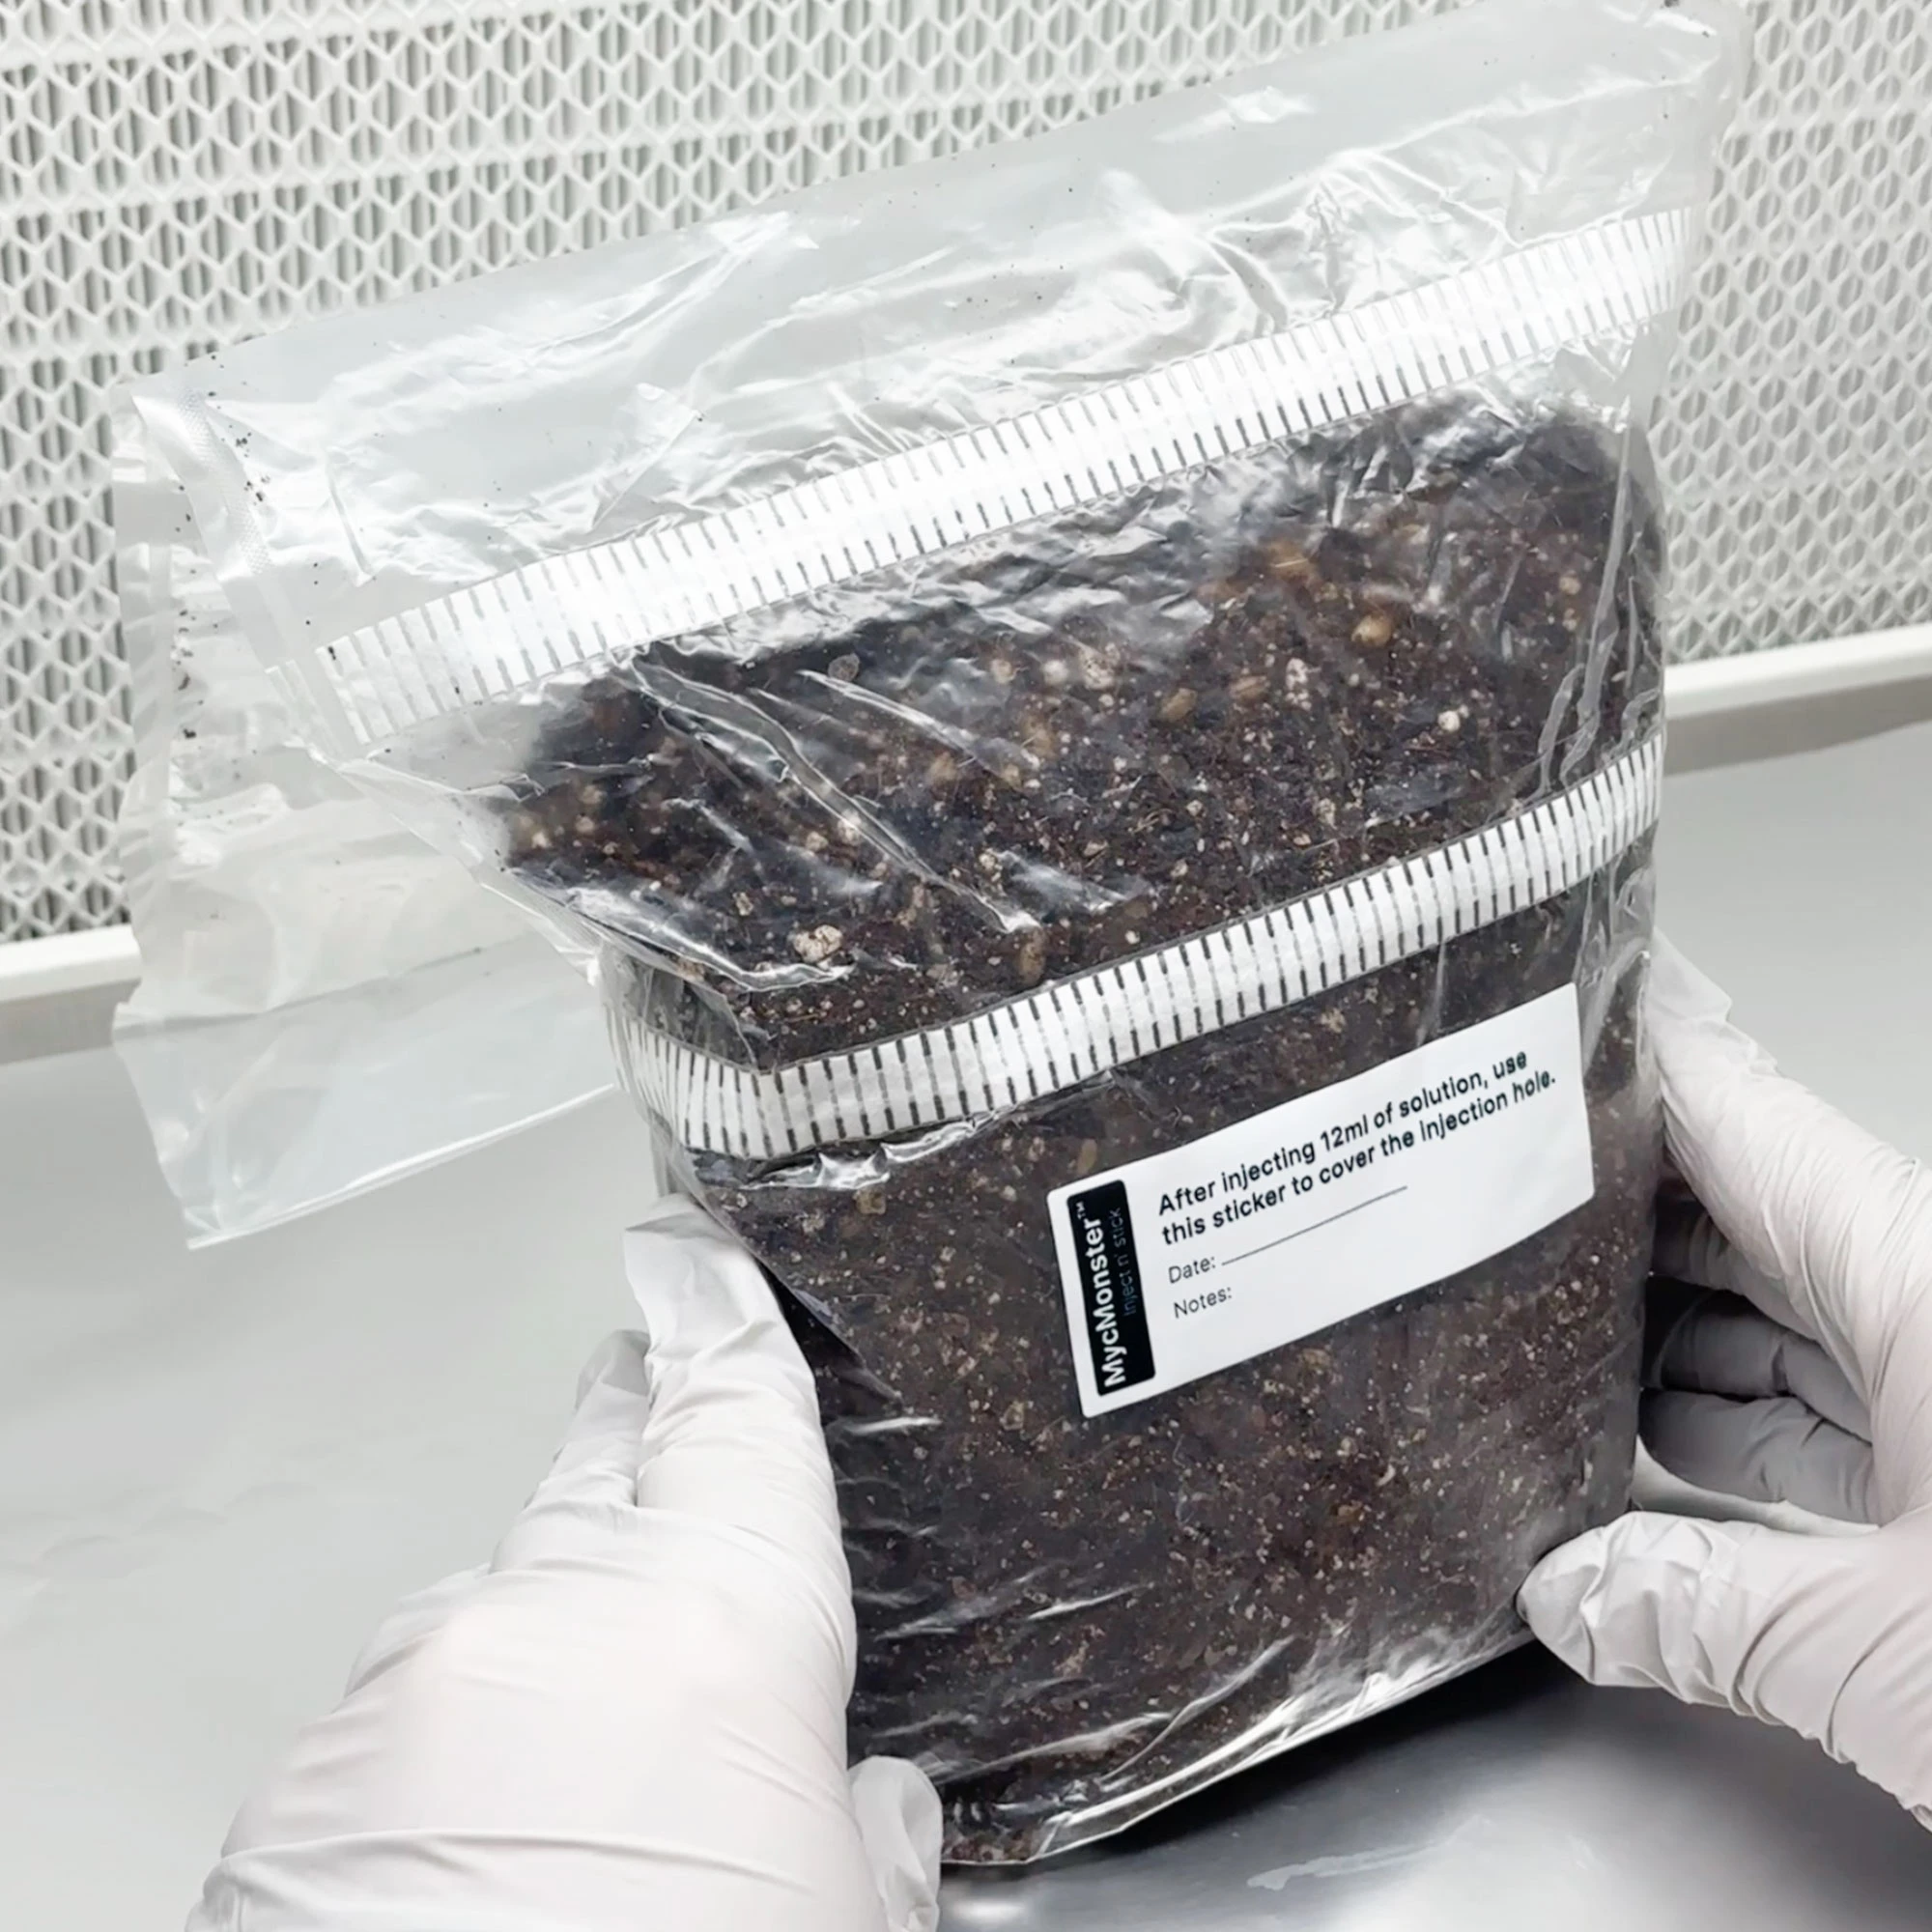
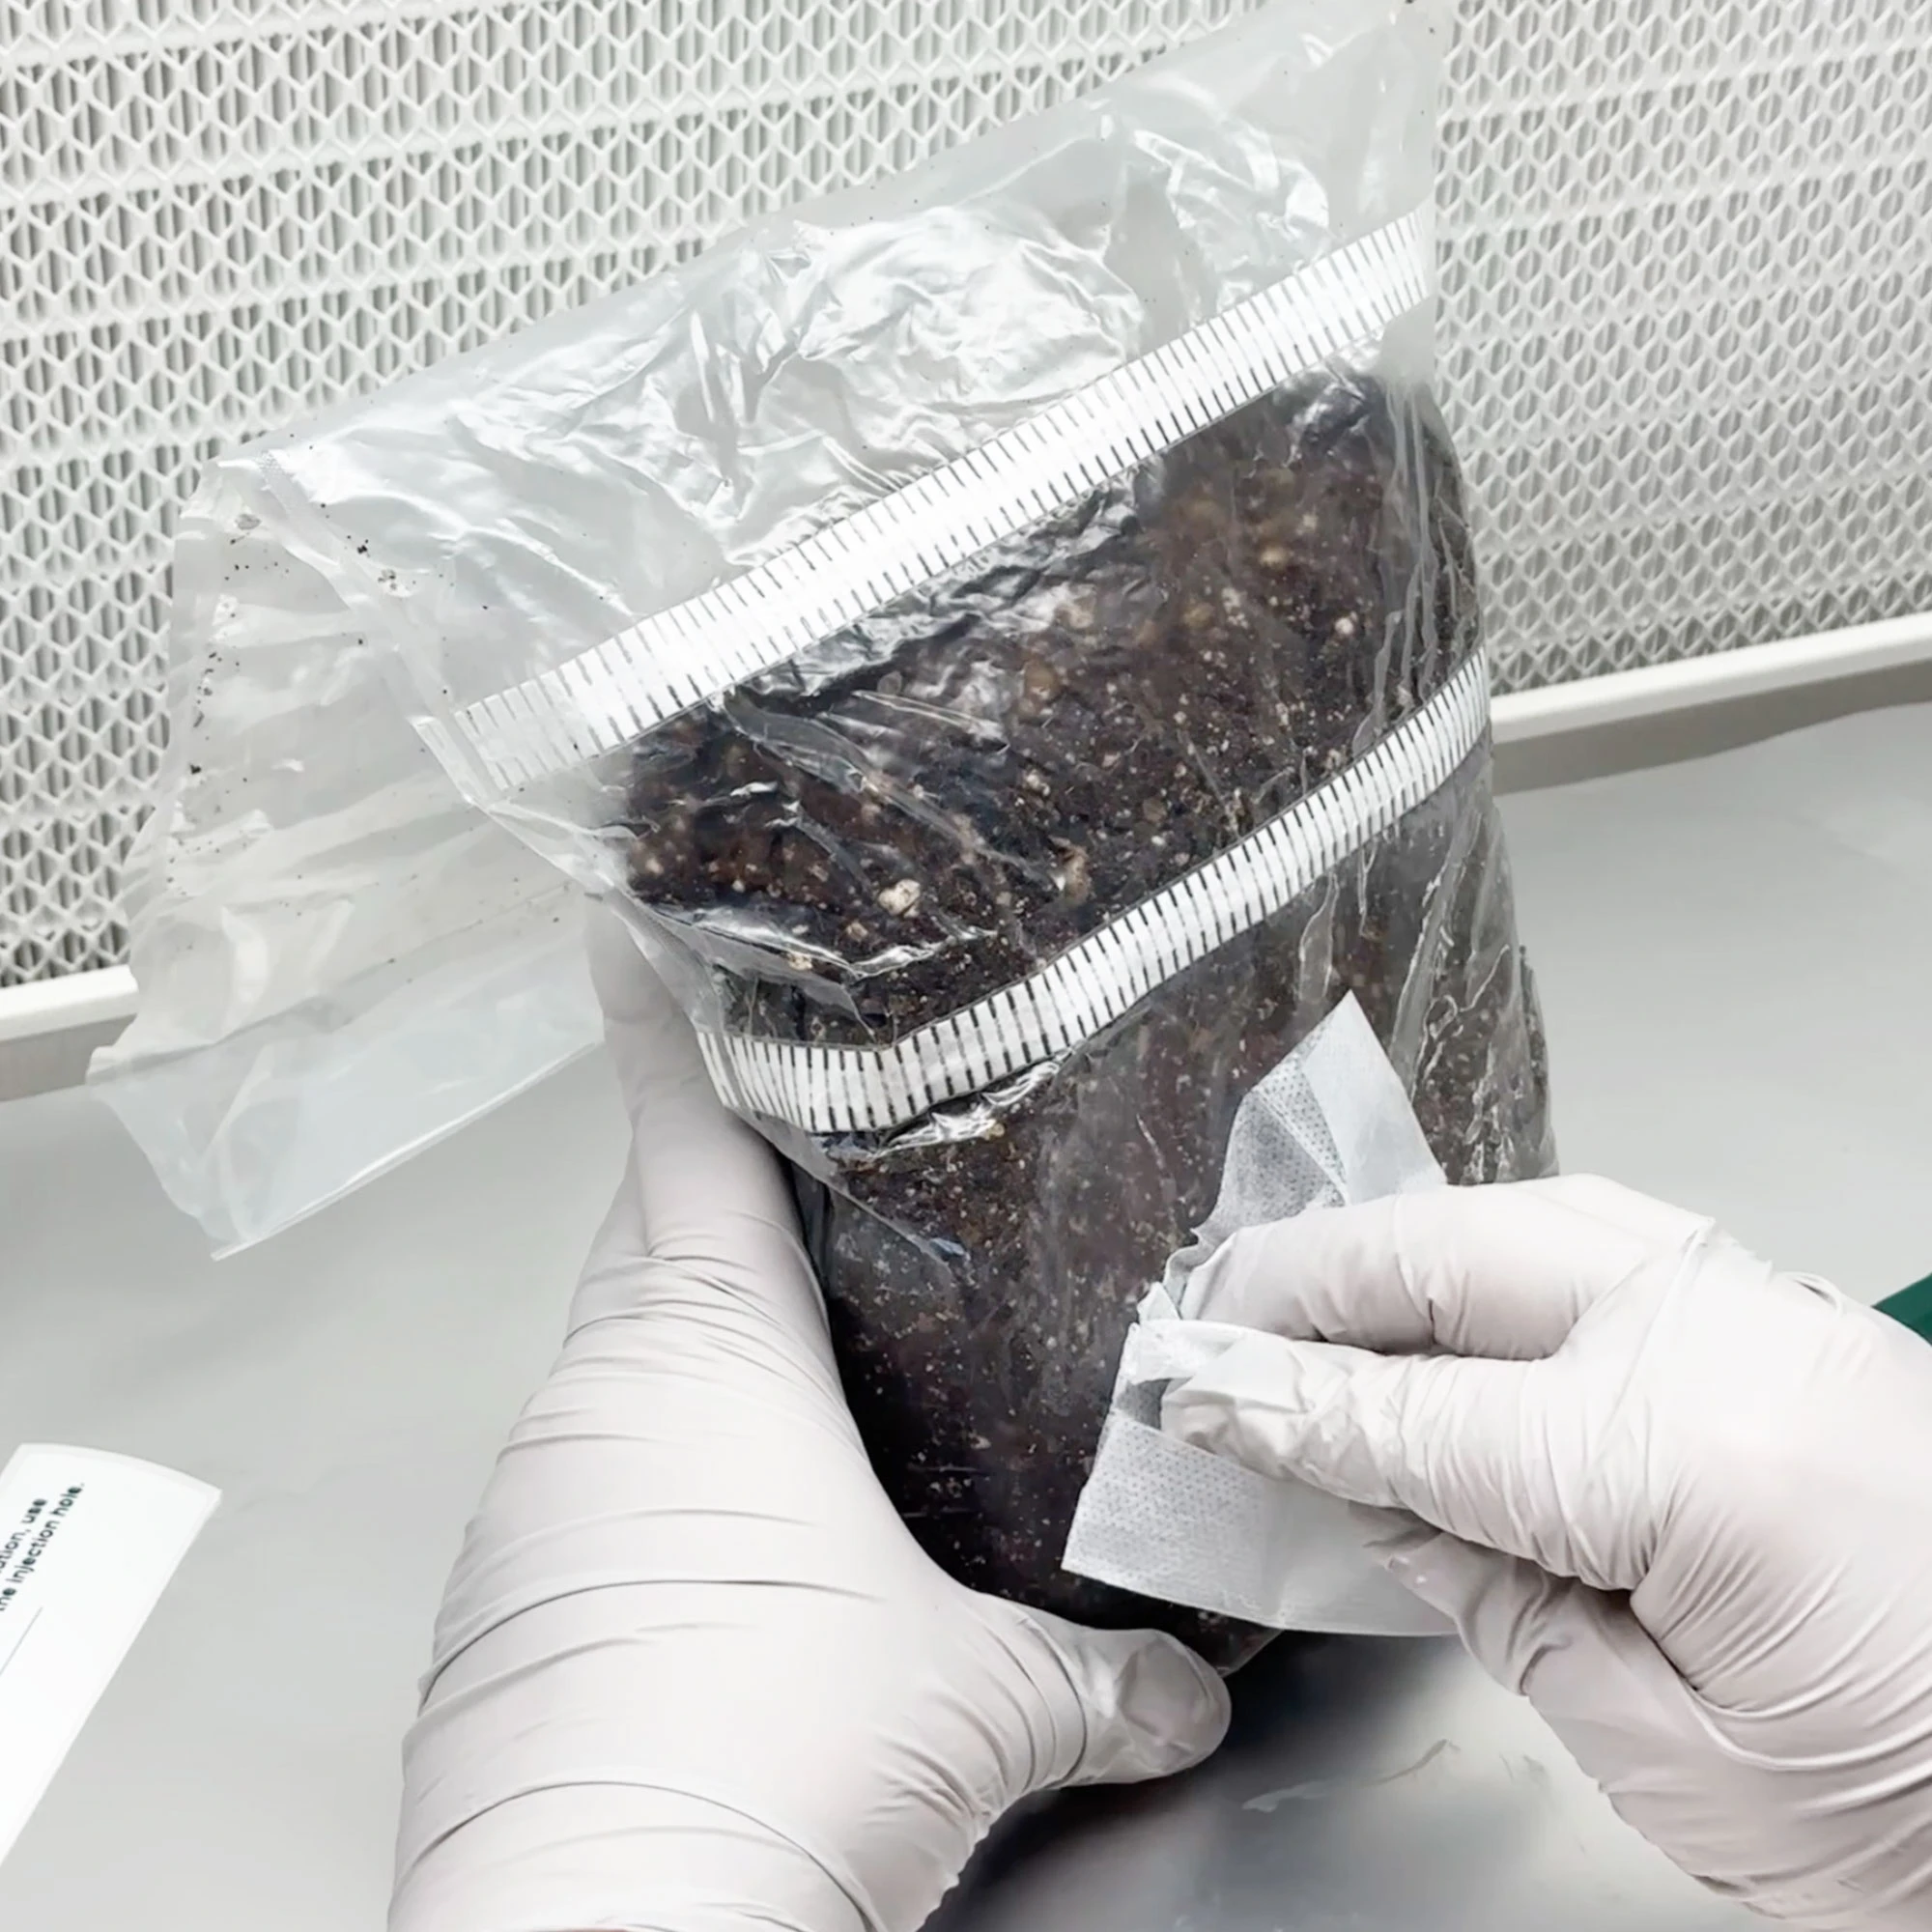
Next, prepare your syringe by attaching a sterile needle. Now, follow the inoculation instructions on your MycMonster by peeling back the label and injecting 12ml of solution (we recommend keeping the needle close to the plastic so you can see the mycelium faster). Once you're done, restick it and make doubly sure it's tightly adhered.

Important: Never touch or try to sanitise underneath of the peel and seal sticker, it's already sterile so you'll actually be dirtying it. Only sanitise this if you make a booboo by touching it or somethine! Peel, inoculate and seal - it can't get any more simple.

Inoculation Tips:

  • MycMonster should not be removed from its packaging until it's ready to use to limit contamination.
  • Be careful and swift when peeling, injecting and sealing - but don't rush or panic the process.
  • After inoculation, ensure the sticker is tightly adhered to block contaminants from entering.

Step 2: Colonisation of MycMonsterโ„ข

After inoculating your MycMonster, it's time for colonisation.

Colonisation Temperatures

Temperature is vital for healthy and fast mycelium growth. Use this table to find the ideal temperature for your inoculation method.

Method Ideal Temp Expected Time
Spore Syringe 23C (give or take a couple of degrees) 10-14 Days
AC / LC / G2G 23C (give or take a couple of degrees) 7-10 Days

Universal Rules:

  • Consistency is key. Avoid large temperature swings.
  • Use an incubator or a warm cupboard. Don't EVER EVER EVER use a heatmat with any grow kit!
  • Patience is your best tool. These timelines are estimates and can vary.

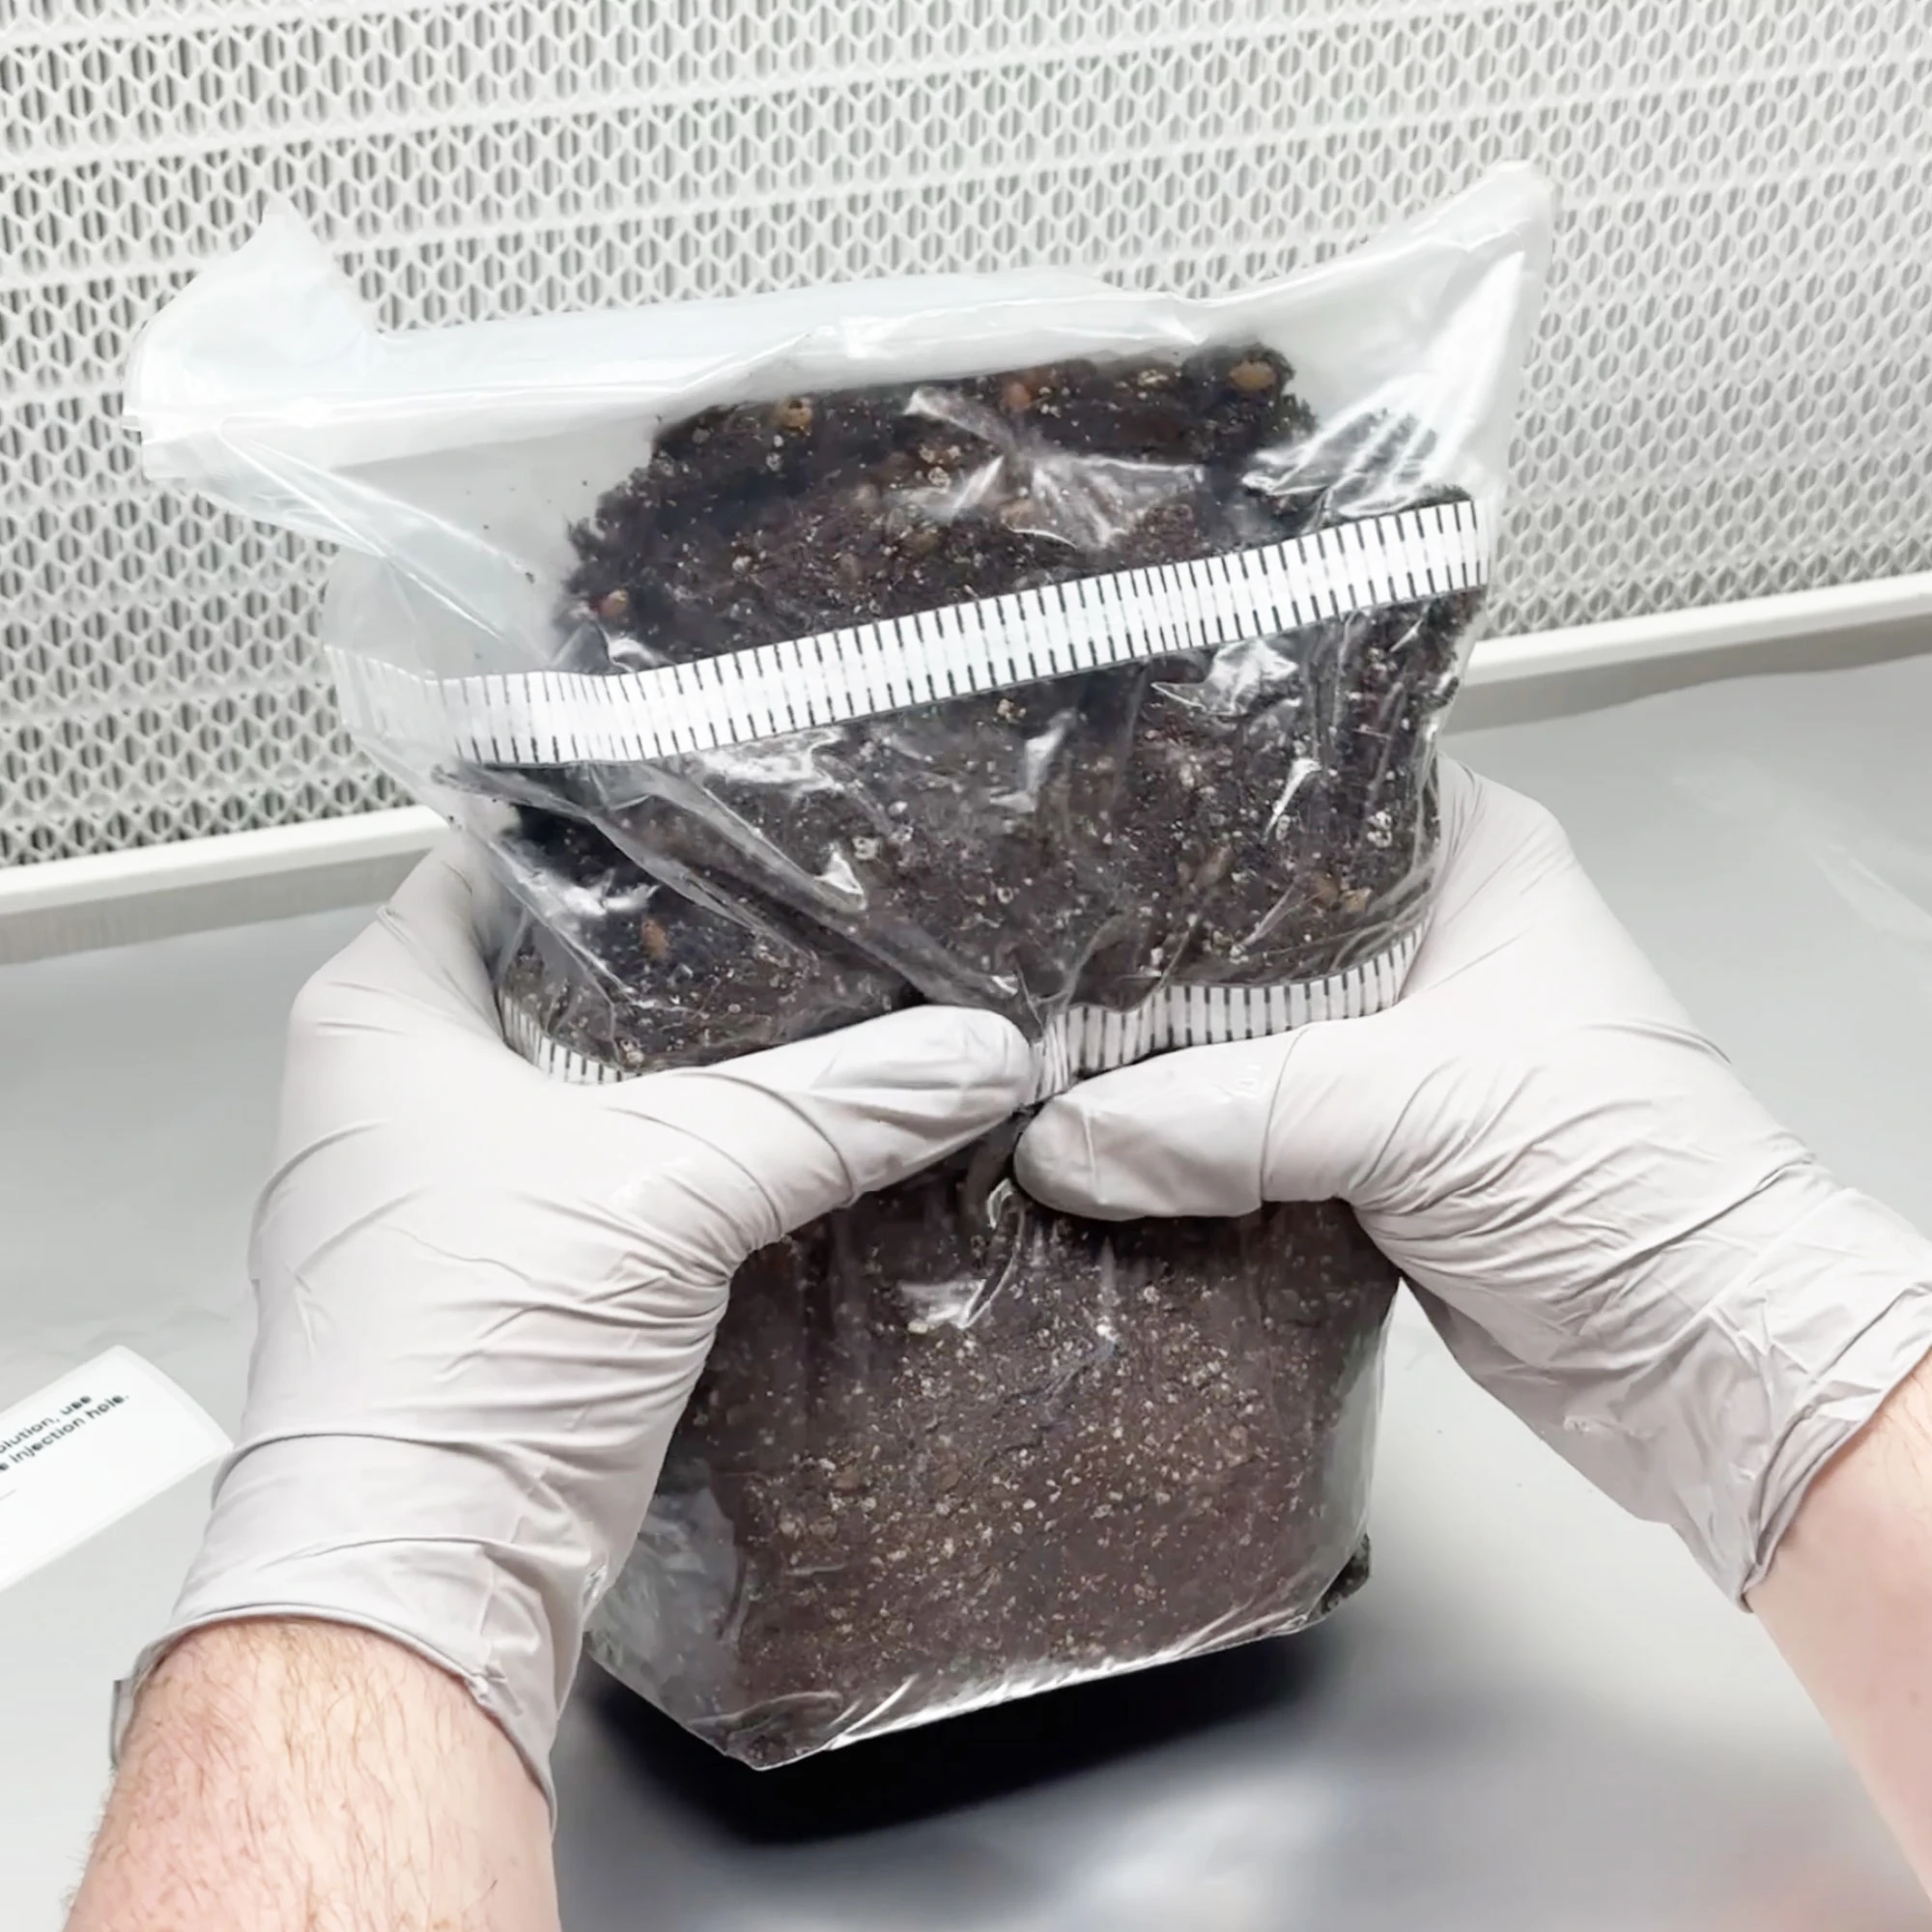
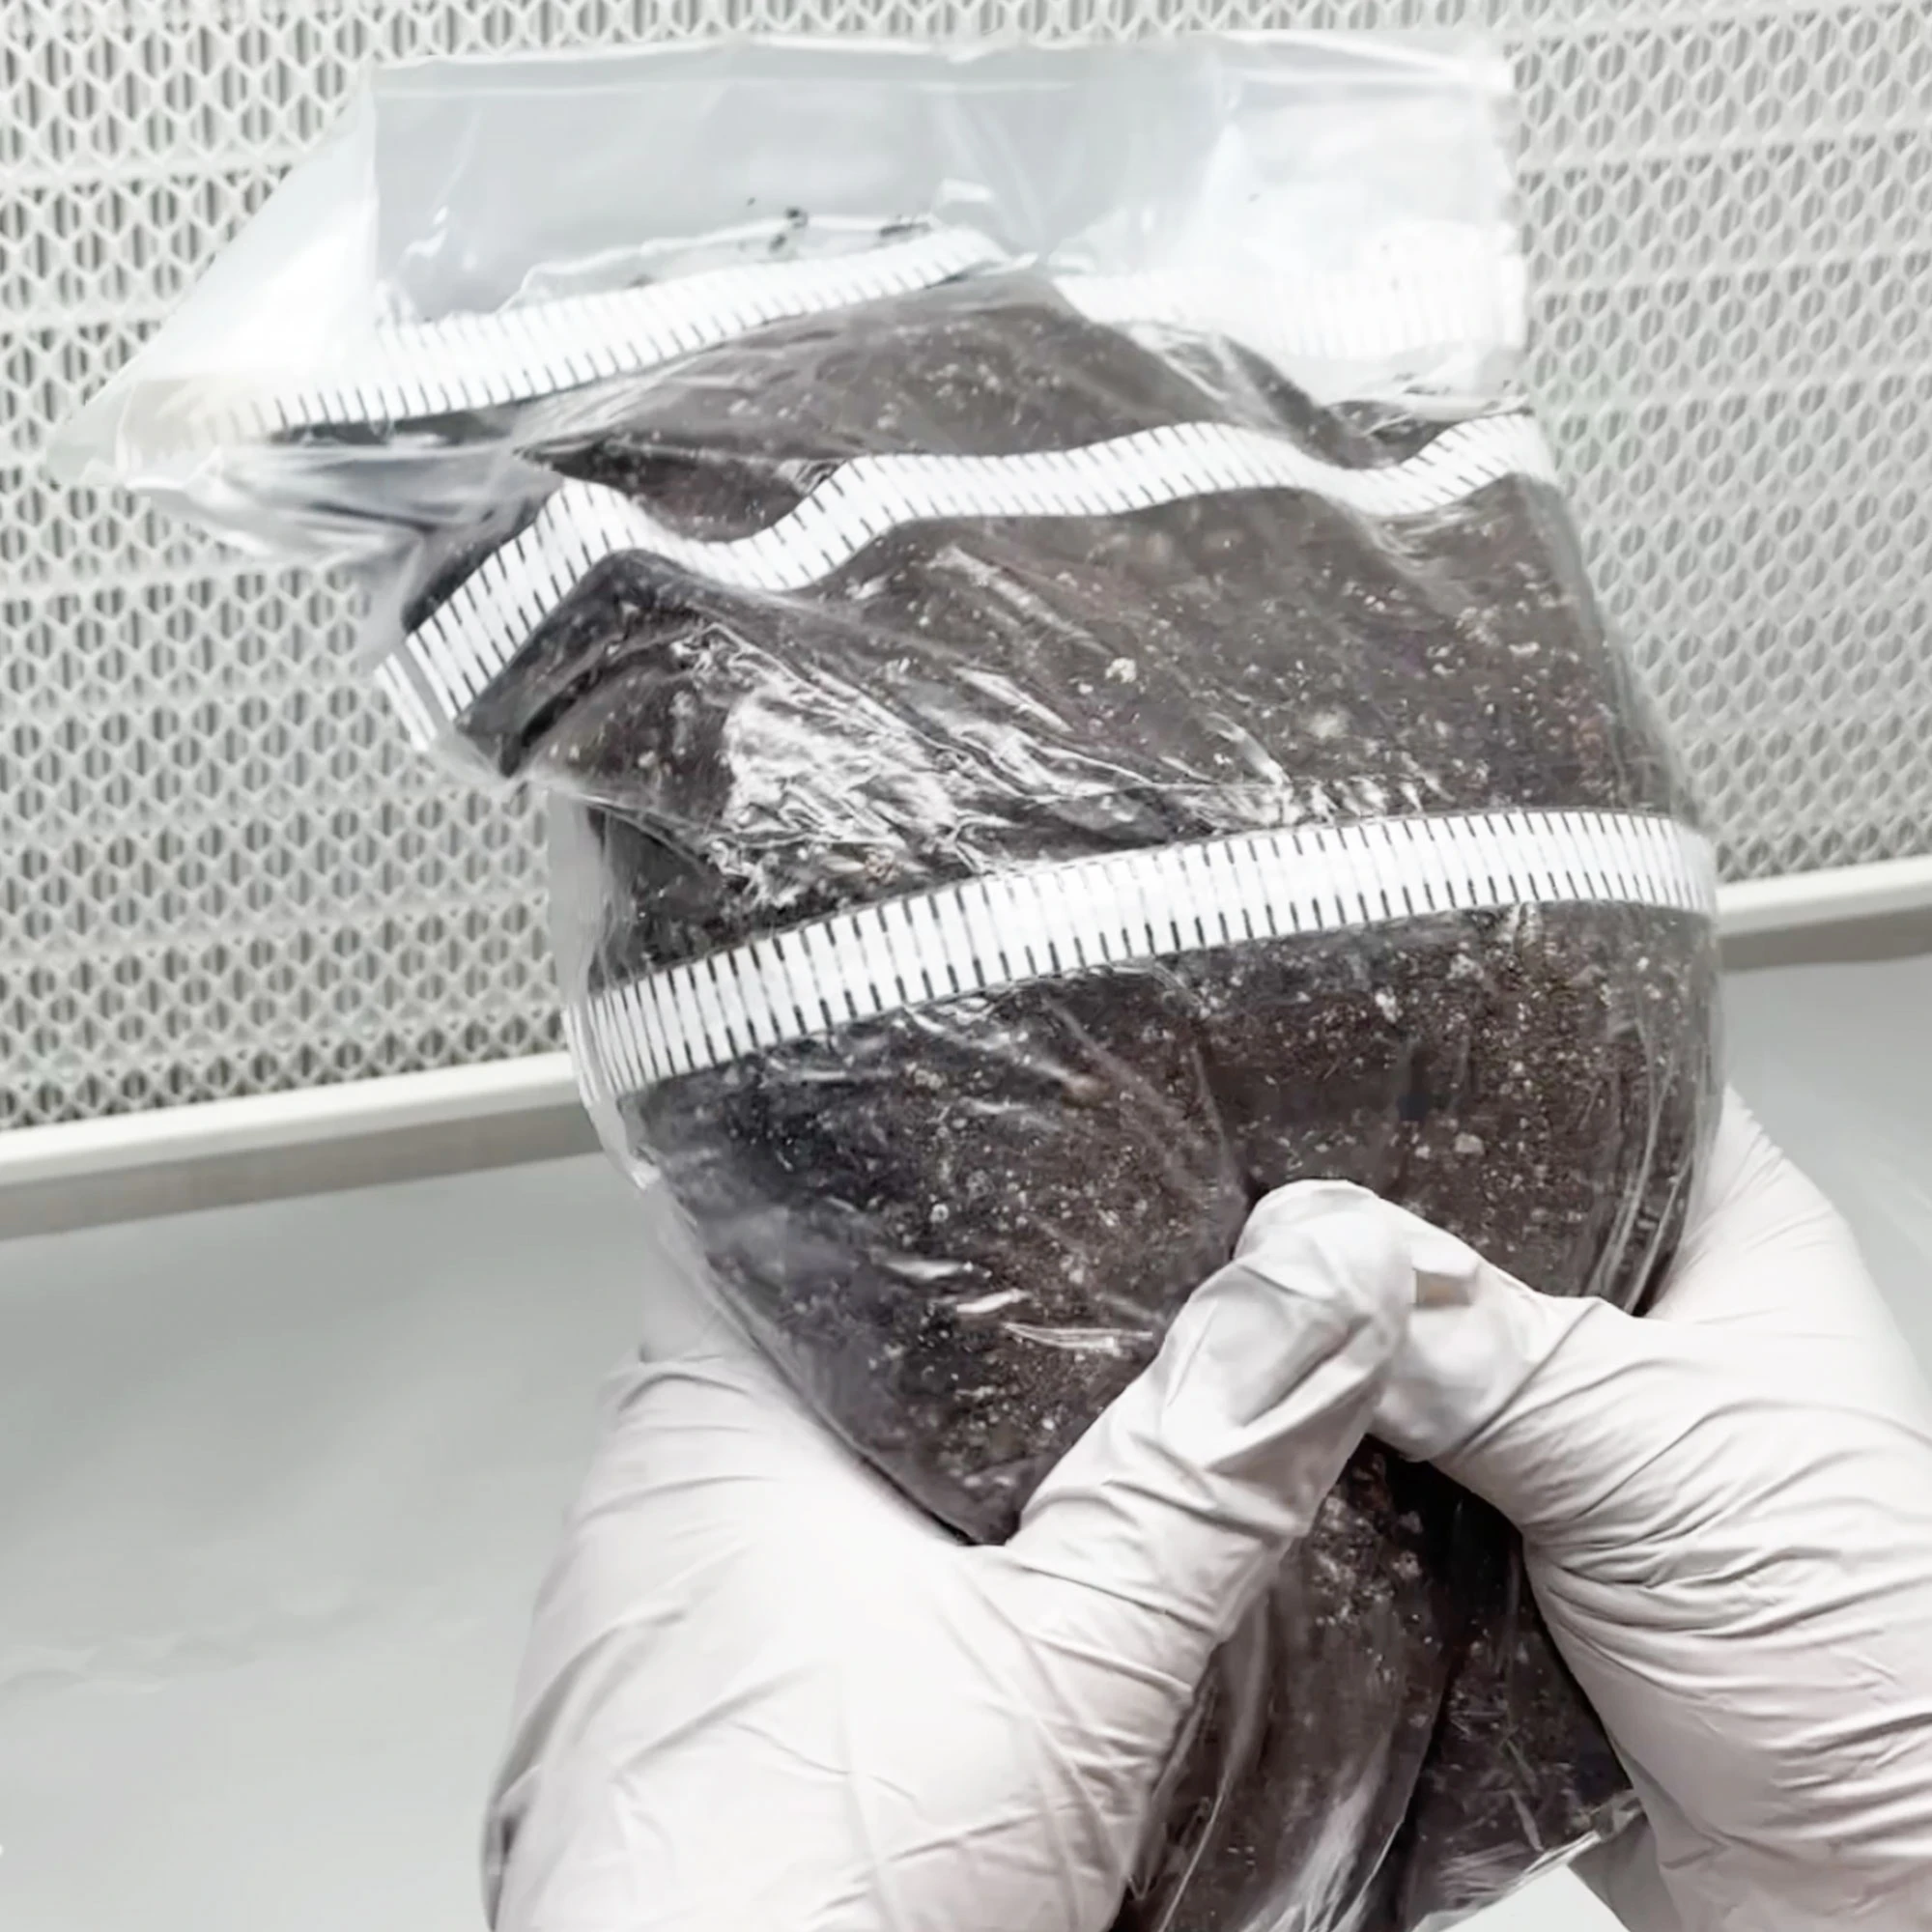
There is an optional technique for achieving rapid mycelium growth with our Substrate B. When colonising at 23C (give or take a couple of degrees), although you may not see visible mycelium after 3 days (72 hours) from inoculation, you should thoroughly mix the bag by fully extending it and using both hands to rub the bag together, breaking the contents into a fine, loose crumble. The finer the crumble and the more thoroughly you mix by repeatedly flipping the bag, the more evenly distributed the mycelium will be, leading to faster growth. By around day 7 from inoculation, you should observe significant mycelium development. Repeat the same mixing technique, then leave the bag for another 3 days, and it will likely be completely colonised. If using cooler temps, you should leave the first mix until day 5.

Important: Using a heat mat is like trying to hatch an egg on a frying pan. It creates an environment that's too hot and uneven, drying out the base of the grow kit while sending moisture upwards. This leads to soggy conditions and bacteria growth. For optimal results, create a stable, warm environment instead. Build or buy an incubator or put a radiator inside a small cupboard or just incubate at room temperature (slower colonisation is better than growing a bag of microbes).

Step 3: Fruiting Stage

There are multiple ways to fruit your MycMonster mushrooms. For example, if you already have a FC (fruiting chamber), you likely won't want or need a FT (fruiting tent).

MycMonster can be used as an all-in-one grow bag, meaning mushrooms can be fruited within the same bag. This is by far the easiest method and it's very compact - but like anything, it has its downsides: limited space inside the bag, reduced fruiting area, and more reliance on the substrate's water content as the main humidity source. It's fine, it will work to grow mushrooms, and it may be a perfect intro for first-time growers, but it's not the only way.

We also provide options for two different sized fruiting tents (XL and XXL), which give more room for fruiting your mushrooms if you have the space. You can even add perlite (a porous volcanic rock with an insane surface area to promote humidity through evaporation) as an excellent humidity source inside your fruiting tent. This can easily bring humidity up to 90-95%, reducing reliance on the colonised substrate block as the main water source - which means less drying out and an excellent environment for your mushrooms.

Different Fruiting Options

Choosing the right fruiting method depends on your space, experience, and goals. Use this table to compare options and ideal conditions for healthy mushroom growth during the fruiting stage. Note: For all methods, aim for around 21C (give or take a couple of degrees) for many gourmet species.

Method Pros Cons Ideal Lighting Ideal Temperature Fruiting Tips
MycMonster (Bag only) Easy, compact, no extra setup. Limited space, smaller flushes, humidity challenges, requires dunking in water for 12-24 hours prior to the first flush. Indirect sunlight or 5000-6500K LED/fluorescent, 12 hours/day. 21C (give or take a couple of degrees). Optional: Mist with a water atomiser and fan 2-3 times daily to promote evaporation and speed up pin development (not required).
Fruiting Tent (XL) More space than bag, better humidity control with perlite, bigger flushes. Requires more room, effort and costs a few quid extra, requires dunking in water for 12-24 hours prior to first flush if not using perlite. Indirect sunlight or 5000-6500K LED/fluorescent, 12 hours/day. 21C (give or take a couple of degrees). Can work without perlite if substrate is dunked in water for 12-24 hours before first flush and after every flush to maximise internal water content. Adding soaked perlite means no dunking needed until prior to second flush. Optional: Mist with a water atomiser and fan 2-3 times daily to promote evaporation and speed up pin development (not required).
Fruiting Tent (XXL) Even more space, excellent for maximising flushes with perlite, supports larger flushes. Needs significant room, more setup, and costs a few quid extra. Indirect sunlight or 5000-6500K LED/fluorescent, 12 hours/day. 21C (give or take a couple of degrees). Recommended to dunk substrate in water for 12-24 hours and use soaked perlite from before first flush and for every subsequent flush to maximise the potential of the flushes, due to the larger size. Optional: Mist with a water atomiser and fan 2-3 times daily to promote evaporation and speed up pin development (not required).
Custom Fruiting Chamber Fully customisable, scalable. More complex to build/maintain. Indirect sunlight or 5000-6500K LED/fluorescent, 12 hours/day. 21C (give or take a couple of degrees); Use fans for air exchange. Optional: Mist with a water atomiser and fan 2-3 times daily to promote evaporation and speed up pin development (not required).

Step 4: Dunking for Humidity and Hydration

When the substrate is fully colonised (completely covered in white mycelium), you can use a method called 'dunking' to prepare for fruiting.

Fill a container with water deep enough to submerge your colonised substrate (known as a 'cake'). A 2L bottle of spring water is best! Open your MycMonster bag at the very top and roll the plastic down or take the cake out if it's easy - it will be a solid block. Place this in the water and use something like a plate to weigh the cake down to stop it floating, as you need it to be fully submerged in water at all times.

Put a lid on the container or cover it to keep everything clean. Leave your cake submerged like this for anything between 12-24 hours, depending on how much patience you have.

Dunking Troubleshooting Tips:

  • Ensure the cake is 100% colonised before dunking.
  • Use clean, room temperature spring water (not tap water).
  • Make sure the cake remains fully submerged for the entire dunking period.
  • Cover the container to prevent contamination while dunking.
  • Longer dunking periods (closer to 24 hours) generally produce better results.

Step 5: The Best Bit... Fruiting Your Mushrooms!

Maintaining a slightly cooler temperature of around 21C (give or take a couple of degrees) during the fruiting stage is essential for best results with many popular species of mushrooms, . Essential levels of humidity will naturally build up inside the grow tent or bag from the water you allowed to soak into the substrate during dunking.

Unlike some other grow kits, you should not mist your MycMonster (unless it looks dry). The only time you'll open your tent or bag is when you're ready to harvest your mushrooms. Even peeking for a few seconds is enough to lose humidity and cause growth defects such as aborted pins and caps breaking.

Humidity and Air Exchange

Humidity and FAE (fresh air exchange) are extremely important for pinning and healthy mushroom development, as is temperature and light. They all need to work in harmony.

We suggest cutting a 1cm slit through both sides of the tent near the top and placing an electric fan somewhere in the room on a low setting. This will create a gentle air current inside the room, which will help increase the FAE inside the grow tent. If fruiting in the bag only, you can carefully make small slits in the bag for similar effect, or open it briefly for air exchange as needed.

Light and Environmental Conditions

Your mushrooms will need light to grow. We recommend indirect sunlight or a 5000-6500K LED or fluorescent light a few feet away - if the light is heating the substrate, move it further away.

If you notice the inside of your grow tent or bag looking dry, it may be due to the fan being too close, the holes you cut being too big, or grow lights (if using them) being too close and hot. Observe what's happening and adjust your setup as required. Fantastic results depend on it.

Pinning and Growth

After around 3-7 days, you'll hopefully begin to see lots of tiny white dots. These are hyphal knots that will develop into primordia, aka mushroom pins. It will take 4-5 days for them to grow into fully mature mushrooms ready for harvest.

During this time, they'll let you know if something isn't quite right. Fuzzy mycelium at the base of the mushrooms and/or thin stems are an indication that more FAE is needed. Increasing the fan speed or length of the cuts on the tent or bag might be something to try.

Don't worry about any mushrooms growing around the sides and bottom of the cake. You'll still be able to harvest them. If you want to give your mushrooms more room to grow next time, use a larger fruiting tent or chamber instead of the bag.

Fruiting Troubleshooting Tips:

  • Water pooling: If you see pools of water touching the substrate, dab them with a paper towel. Standing water can become contaminated quickly.
  • Temperature issues: Maintain stable temperature around 21C (give or take a couple of degrees). Unstable temps can lead to excessive condensation.
  • Fuzzy stems: This indicates insufficient fresh air exchange (FAE). Try increasing airflow slightly.
  • Dry substrate: Only mist if the substrate looks dry; otherwise, humidity should come from the substrate itself.
  • Aborted pins: Often caused by environmental changes. Maintain consistent conditions.

Harvesting and Subsequent Flushes

When the veil beneath one of your mushroom caps is about to tear off, this is when you should harvest your first flush. If you've taken good care of your grow kit, you should achieve multiple flushes of beautiful mushrooms before the nutrients are all used up.

Expected Yields

With proper care and optimal conditions, the MycMonsterโ„ข can produce impressive harvests across multiple flushes. Remember that each flush typically produces less than the previous one, with the first flush usually being the most abundant.

Happy shroomin' folks!

Last updated on 13 August 2025

Cash, bank or Bitcoin Discreet UK dispatch Free replacements Over 5,000 reviews