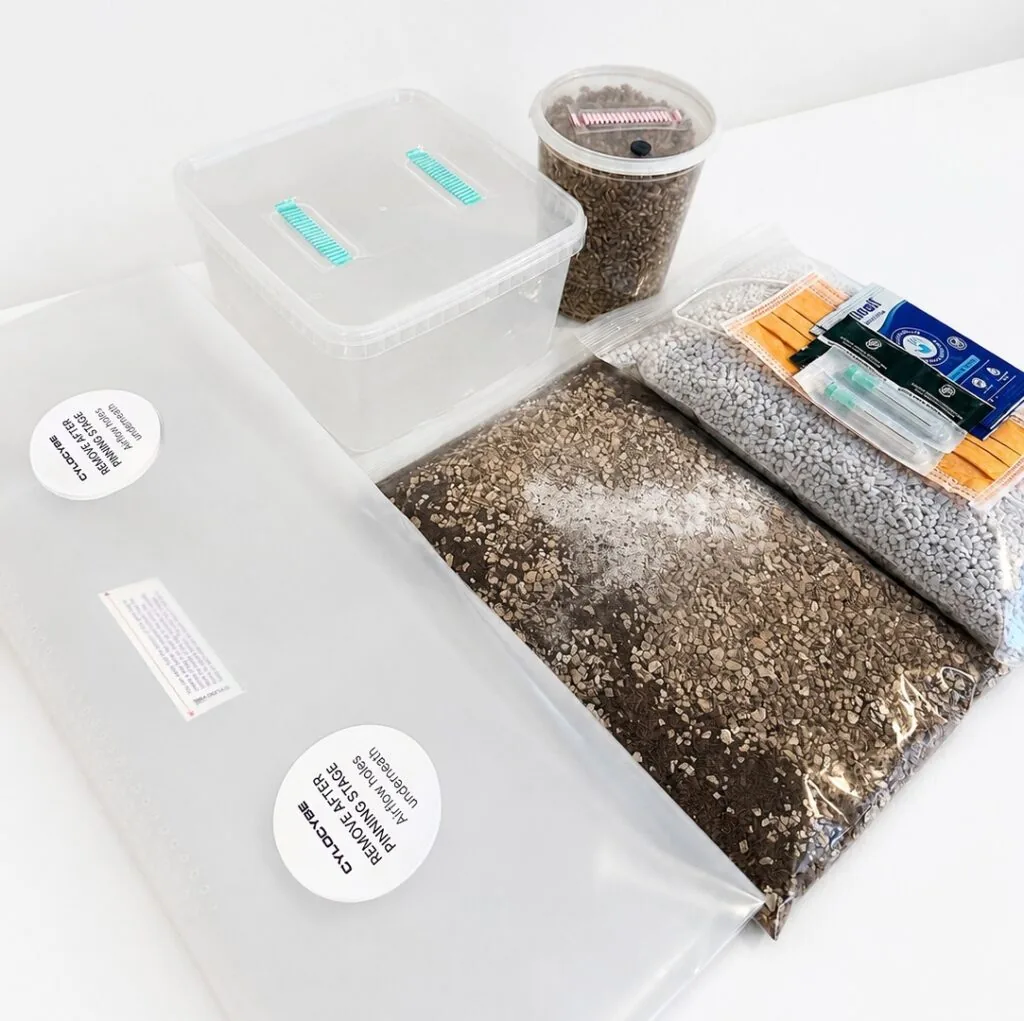
Grow guide
MonoBox
The MonoBox is a two-stage kit: you colonise a sterile tub of grain first, then mix that living grain into the bulk coir inside the box. That extra stage is a little more hands-on than an all-in-one kit, but spreading colonised grain through the coir gives you hundreds of starting points, so the substrate colonises fast and pushes generous yields. The steps below cover both the XL and XXL versions; where they differ, both numbers are given.
What is in your kit
XL MonoBox
- 1.6L HEPA-filtered grow box
- 1000mL SteriCoir pre-sterilised coco-coir substrate
- 1 sterile grain SpawnTub (approx. 650mL grain)
- XL grow tent
- Chlorhexidine alcohol wipes, hand wipes, face mask
- Sterile gloves (optional but advised)
XXL MonoBox
- 3.1L HEPA-filtered grow box
- 2000mL SteriCoir pre-sterilised coco-coir substrate
- 2 sterile grain SpawnTubs (approx. 1300mL grain)
- XXL grow tent
- Chlorhexidine alcohol wipes, hand wipes, face mask
- Sterile gloves (optional but advised)
You add
- Your own gourmet liquid culture or spore syringe (not included)
- XL needs 1.5 to 2mL total. XXL needs 1.5 to 2mL per tub (3 to 4mL total)
- A fresh sterile needle
The substrate is now SteriCoir, which ships pre-sterilised and pre-hydrated, so there is no microwaving or steam-prep step. (Older Mycowavable kits from before March 2025 needed that step; current kits do not.)
The XXL ships with two SpawnTubs partly for size and partly as insurance. If one tub picks up contamination during colonisation, you bin it and carry on with the healthy one. With the XL you have a single tub, so clean technique at the inoculation step matters that bit more.
Inoculate the grain SpawnTub
Work in a small, clean, draught-free space, ideally a Still-Air Box (see Universal basics for sterile technique). Shower, fresh clothes, mask on, hands and forearms wiped. Fit a fresh needle to your syringe and take the tub(s) out of the box. Wipe the grey rubber injection port on the lid with an alcohol wipe, then inject through it, aiming the needle towards the edge of the tub and depositing the solution there. Never inject through the pink HEPA filter, and never touch the lid rim or the filter. Give each tub a firm shake afterwards to spread the inoculant, which noticeably speeds colonisation.
Colonise the grain
Put the tub(s) back inside the cardboard box they arrived in (it shelters them and still lets the mycelium breathe, so never use an airtight container) and leave them somewhere warm and still. Trace the growing edge with a marker if you want to confirm progress without handling them. Yellowish liquid is normal metabolites, not contamination. You are done when the grain is fully covered in healthy white mycelium. Do not open the tub before that point.
Spawn the colonised grain to the coir
Wash up and glove up. Set aside a good handful of coir for the casing layer later. Tip the rest of the coir into a large bowl, open the tub(s) and tip the colonised grain in on top. The grain comes out as solid blocks: break it apart into individual kernels, since every kernel is a fresh inoculation point. It takes some force to start, but try not to crush the grains. Mix it through the coir thoroughly, the more evenly spread, the faster it colonises. Tip the mix back into the MonoBox.
Add the casing and colonise the substrate
Spread the handful of coir you saved over the top in a thin layer until no grain is showing. This casing holds surface humidity and encourages even pinning. Put the lid on and keep it warm and still. This is the make-or-break stage: you want the substrate to colonise quickly so the mycelium outruns any microbes. Once it looks fully white, give it another 3 days so the unseen centre finishes too. Do not open the box before then.
Move to fruiting
Lift the fully colonised block (the cake) out of the box and stand it inside the grow tent, then fold the top of the tent over so humidity builds. The moisture is already held in the cake from the substrate, so do not mist this kit unless it visibly dries out. For fresh air, cut a 1cm slit through both sides of the tent near the top and run a room fan on low nearby. Give it indirect daylight or a 6 to 7000K LED a few feet away. Only open the tent to harvest, since even a brief peek drops humidity and can abort pins.
Harvest, then dunk for the next flush
Harvest each mushroom just as the veil under the cap begins to tear, before the spores drop and make a mess. Cut at the base with a clean scalpel or knife. Mushrooms around the sides and bottom of the cake are fine to take too. After the flush is fully picked, dunk the cake to rehydrate it (see Universal basics for the dunking method), then drain and return it to the tent for the next flush.
At a glance
- Method
- Two-stage, grain spawn to bulk coir
- Vessel
- 1.6L box (XL) or 3.1L box (XXL), HEPA-filtered
- Substrate
- SteriCoir coco-coir, pre-sterilised (no microwaving)
- You inoculate
- The grain SpawnTub via its rubber port
- Inoculant
- 1.5 to 2mL (XL) or 3 to 4mL total (XXL), not included
- Colonise grain
- About 24C, ~2 to 3 weeks
- Colonise substrate
- About 24C, ~10 days plus 3
- Fruiting
- About 20 to 22C, in the grow tent
- Pre-fruit dunk
- No, dunk between flushes only
- Expected yield
- 500 to 600g+ (XL), 800 to 1000g+ (XXL) across flushes
Break the grain right up
The single biggest lever on this kit is how evenly you spread the grain through the coir. Individual kernels mean hundreds of inoculation points and a faster, safer substrate colonisation. Lumps left intact colonise slowly and give microbes a window.
No misting needed
Unlike some kits, the MonoBox holds its fruiting moisture in the cake. Leave it alone unless it visibly dries. If you see water pooling against the substrate, dab it away with a paper towel before it turns.
More headroom
For more room to fruit next time, swap the tent for a fruiting chamber. The CyLab product page shows results from fruiting a MonoBox cake inside its chamber.