Home / Mushroom Cultivation / Spawn & Substrates / Whole Wheat Grain
Spawn & Substrates
Whole Wheat Grain
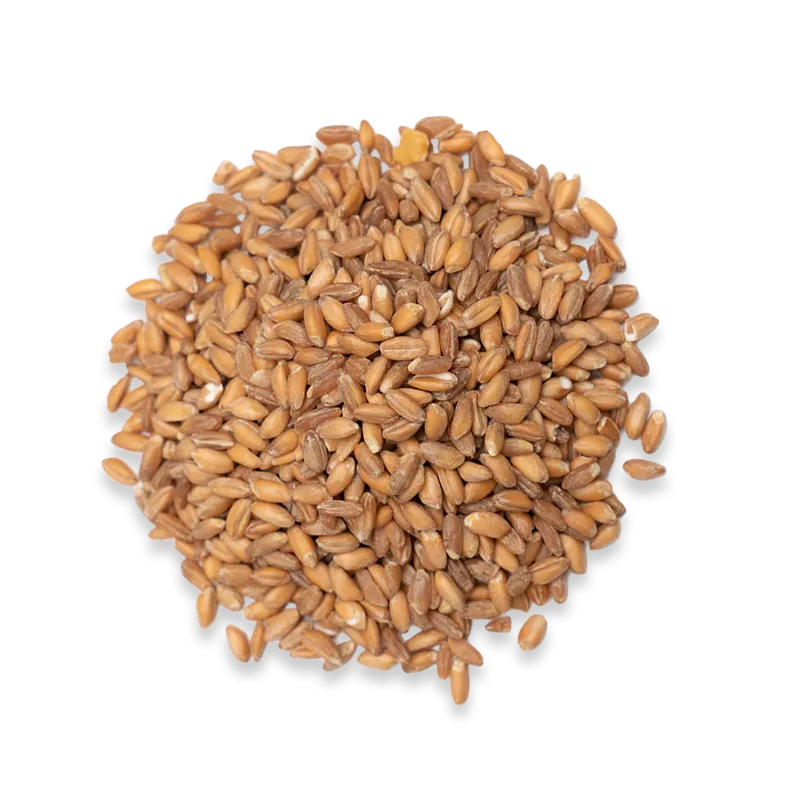
Clean whole wheat grain for making mushroom grain spawn. Medium kernels hydrate evenly and shake apart well, so colonised grain spreads through the jar instead of clumping.
Out of stock
Want to know the moment it returns?
Plain food-grade wheat. You hydrate, sterilise and inoculate it yourself.
Medium kernels take up water through the grain, not just the surface
Grains separate cleanly so mycelium can be broken up and redistributed
Soak, simmer, drain and sterilise to your own method
The short version
This is plain whole wheat grain, the raw material for making grain spawn. You soak it, sterilise it in a jar, then inoculate it with a culture. The wheat carries mushroom mycelium so you can spread it through a larger bulk substrate.
It is sold as grain only. You do the hydrating, sterilising and inoculation yourself, working as cleanly as you can.
What it is
Whole wheat as a spawn grain
Grain spawn is sterilised grain that has been colonised by mushroom mycelium. The grain holds water and nutrients, and once mycelium has grown through it you can mix it into a bulk substrate to spread the colony further. Wheat, rye and millet are all common choices.
Whole wheat is a trusted spawn grain. The medium kernels take up water fairly evenly and the grains shake apart well, which lets you break up and redistribute the mycelium during colonisation. One thing to know: wheat holds about as much water as rye, and if it is not soaked and simmered properly the bran can re-harden and slow colonisation. Prepare it well and it works reliably.
How to use it
Making grain spawn
This is the standard whole grain method. Quantities depend on jar size, so work to the moisture test rather than a fixed weight.
Soak
Soak the grain in cold water for 12 to 24 hours, no longer. This starts hydration and lets dormant contaminants begin to sprout, so sterilising can kill them.
Simmer
Simmer the grain in a large pot for 10 to 20 minutes to soften and hydrate the kernels further. Keep it at a gentle simmer. If it boils hard the grains split and turn mushy.
Drain to field capacity
Drain off all the cooking water and spread the grain out to cool and steam off for an hour or two. You want it hydrated inside but dry on the surface. The check is simple: you should be able to crush a grain with some pressure, but it should not be mushy and no free water should pool. Excess surface water both invites contamination and makes grains split in the pressure cooker.
Jar and sterilise
Fill jars with grain, leaving 2.5 to 5 cm of headspace, fit a filtered lid and sterilise in a pressure cooker. The standard figure is 90 minutes at 15 PSI (121 C); dense or large jars are often run longer. Grain is high in nutrients and can harbour heat-resistant bacterial spores, so full pressure sterilising is needed, not pasteurising.
Cool fully
Let the cooker depressurise naturally and leave the jars sealed inside to cool, ideally 8 hours or overnight. Opening hot jars pulls warm room air across the filter and pulls spores in with it.
Inoculate
Once cool, inoculate each jar with your culture, working as cleanly as you can. With liquid culture, 1 to 2 ml per jar is typical. With agar, drop in a small wedge of colonised agar.
Colonise and shake
Keep the jars warm and dark. Full colonisation usually takes around two to three weeks depending on species and temperature. When a jar is about a third colonised, shake it to spread the mycelium and speed things up. Healthy growth is white and fluffy; pink, blue, green, grey or yellow patches, or a sour or off smell, mean contamination, so bin that jar.
From here, mix the colonised grain into a bulk substrate. A spawn to substrate ratio of about 1:2 by volume colonises fast with less contamination risk, while leaner ratios like 1:4 stretch the spawn further but colonise more slowly. Use a higher spawn proportion on non-sterile substrates.
Storage and what it is not
Keeping it, and where it fits
Store the dry grain somewhere cool and dry, away from damp and pests, until you are ready to use it. Once you have fully colonised spawn, keep it in the fridge at around 2 to 6 degrees C, upright with the filter kept dry. It can hold for a couple of months, but vigour drops the longer it sits, so spawn within a few weeks for the best results.
This is the spawn stage, not a fruiting substrate. You are not meant to fruit mushrooms straight off the grain. Its job is to carry mycelium so you can spawn a larger bulk substrate. It is sold as plain grain only, with no culture included.
Common questions
Frequently asked
It works very similarly, but wheat holds about as much water as rye but the bran can re-harden if it is not soaked and simmered well, so prepare it carefully.
For grain spawn, yes. Grain is high in nutrients and can carry heat-resistant bacterial spores, so it needs full pressure sterilising, normally 90 minutes at 15 PSI. A steamer or boiling water is not enough.
Most gourmet and wood-loving species that are spawned from grain, such as oyster and lion's mane. Wheat is used as the spawn carrier, not the final fruiting substrate.
No. Grain spawn is for colonising and then spawning into a bulk substrate, not for fruiting on its own.
No. This is plain grain only. You add your own liquid culture or agar.
Use it fresh where you can. In the fridge at about 2 to 6 degrees C it can hold for a couple of months, but it loses vigour over time, so spawn within a few weeks if you can.
Ask the community
Questions and answers
No questions yet. Yours could be the first.
Sold for legal gourmet mushroom cultivation and microscopy. No culture or spores included.
We work hard to keep this information accurate and to cite reputable sources, but the occasional mistake can still slip through. Always check the product label and a current reference before relying on any figure for something important.